Table of Contents
In this listicle, I’ll walk you through the best AI headshot generators available today – comparing their features, ease of use, pricing, and output quality. I’ll share my own experiences with each tool (the good, the bad, and the quirky) so you can decide which AI profile picture generator is right for your needs. (No ethics or privacy lectures here – just real talk on performance and value.)
Each section below dives into a specific AI headshot tool, including its performance, strengths, and weaknesses, what the user experience is like (learning curve, interface), pricing (free vs. paid plans and what you get), and the output quality (with examples where possible). I’ve also included insights from external resources – like YouTube reviews, case studies, and even a podcast-style use case – to enrich the discussion.
Let’s get started with the top contenders in AI headshot generators that I tested:
1. BetterPic – High-Resolution & Style Variety
My Experience Using BetterPic
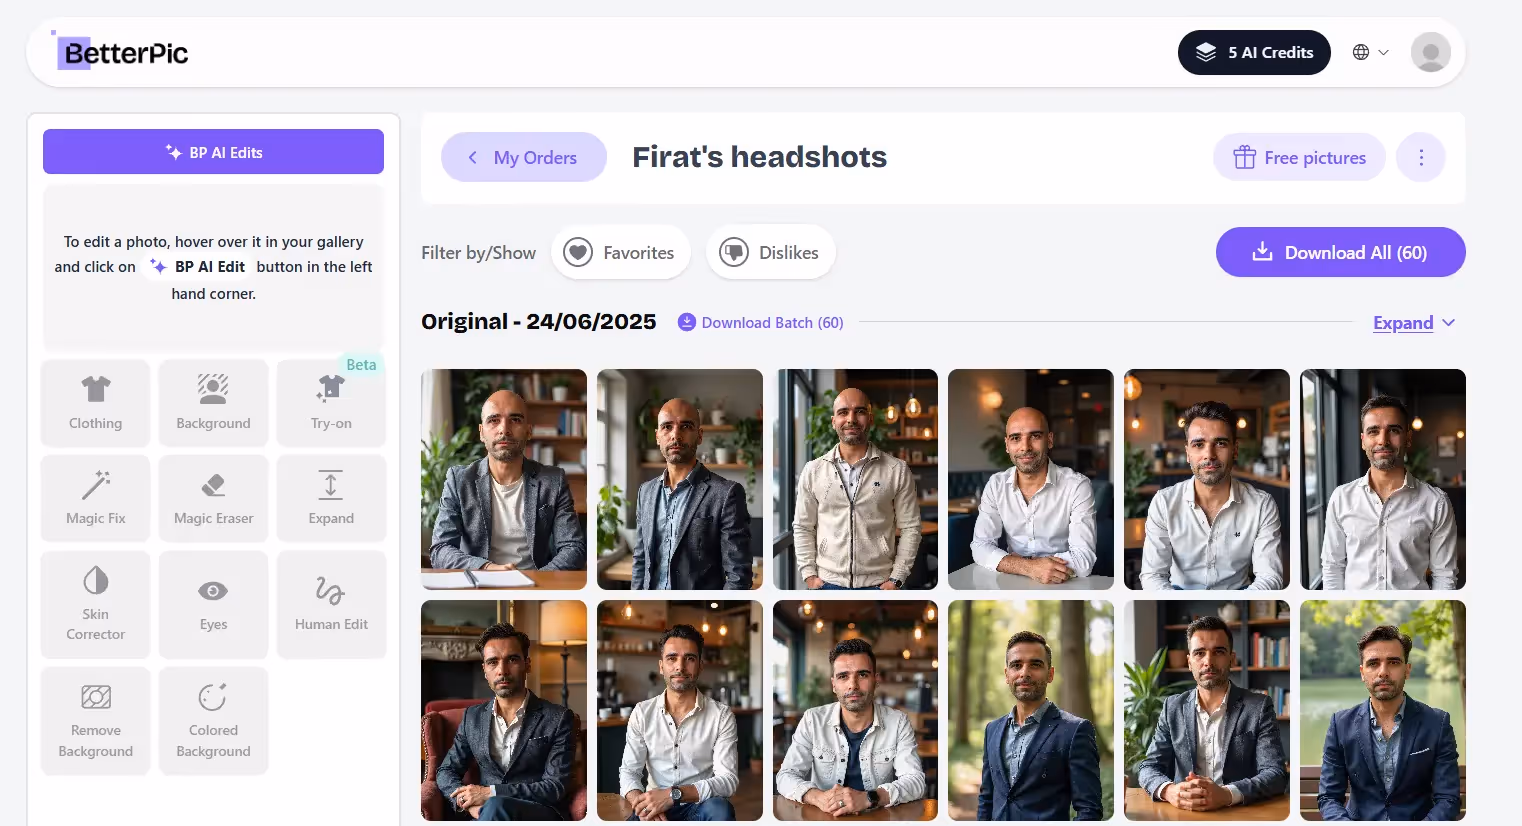
BetterPic really surprised me. The process was super simple — I just uploaded 8 selfies, picked a style, and hit generate. About 30 minutes later, I got an email saying my 60 AI headshots were ready. No long wait, no confusing steps.
Key Features
- Generates 4K-quality headshots that look like they came from a studio
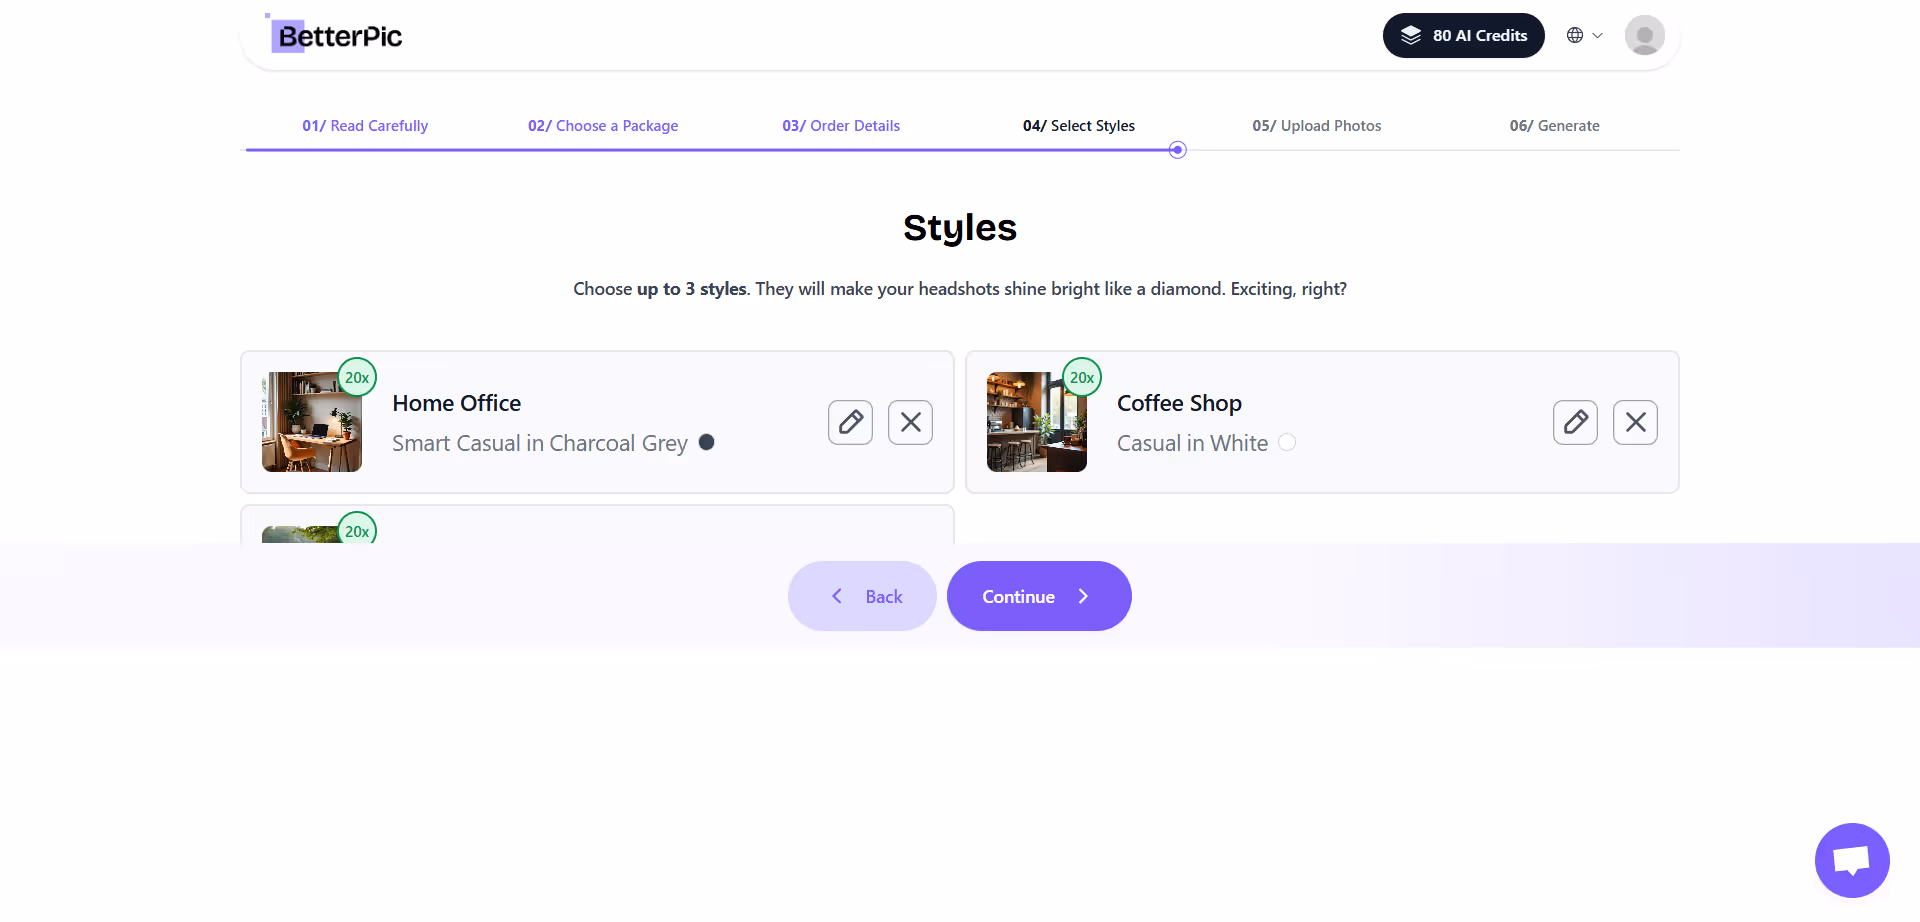
- Offers 150+ styles, including office backdrops, suits, casual looks, different lighting setups
- Has a “style builder” that picks the right style based on your skin tone, eye color, and clothing preferences
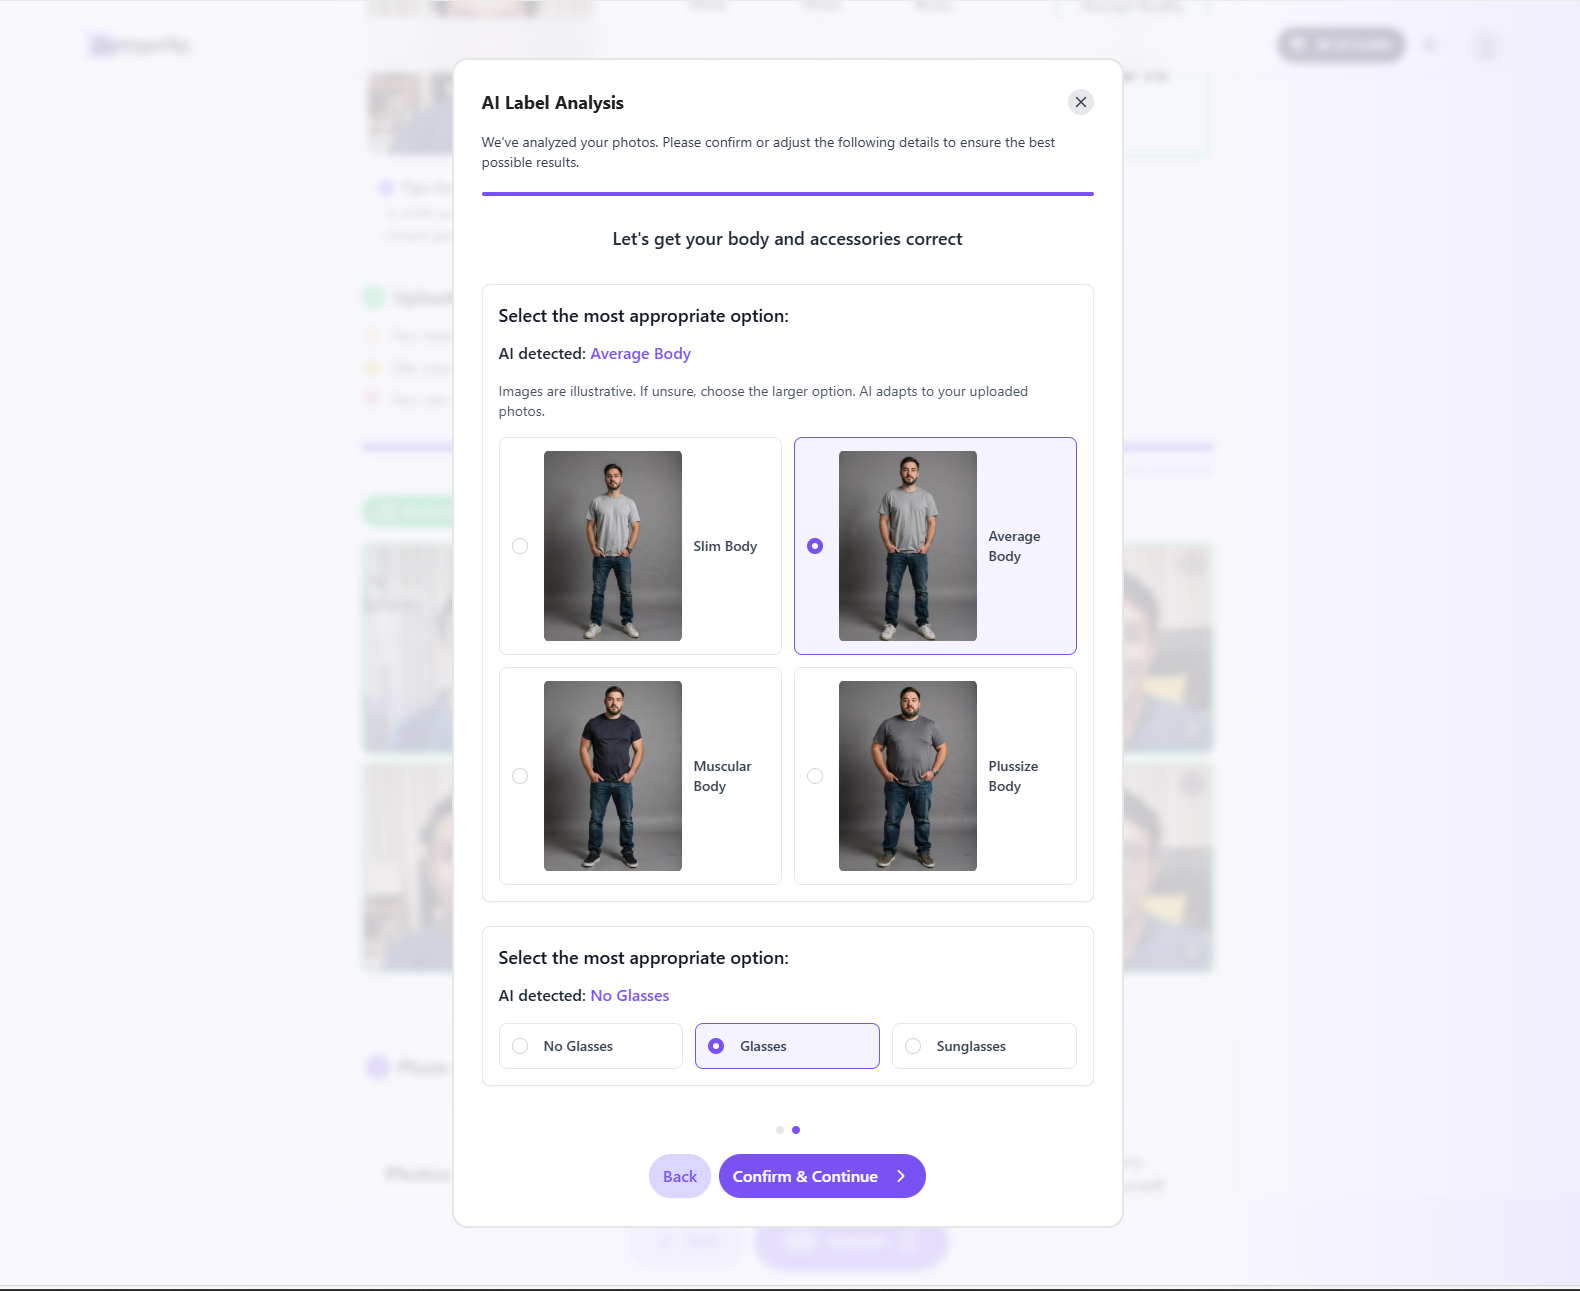
- AI checks your photos before generating — it actually flagged one of mine that had my hand in the frame
- Comes with an AI Studio for small edits like outfit tweaks or facial touch-ups
Ease of Use
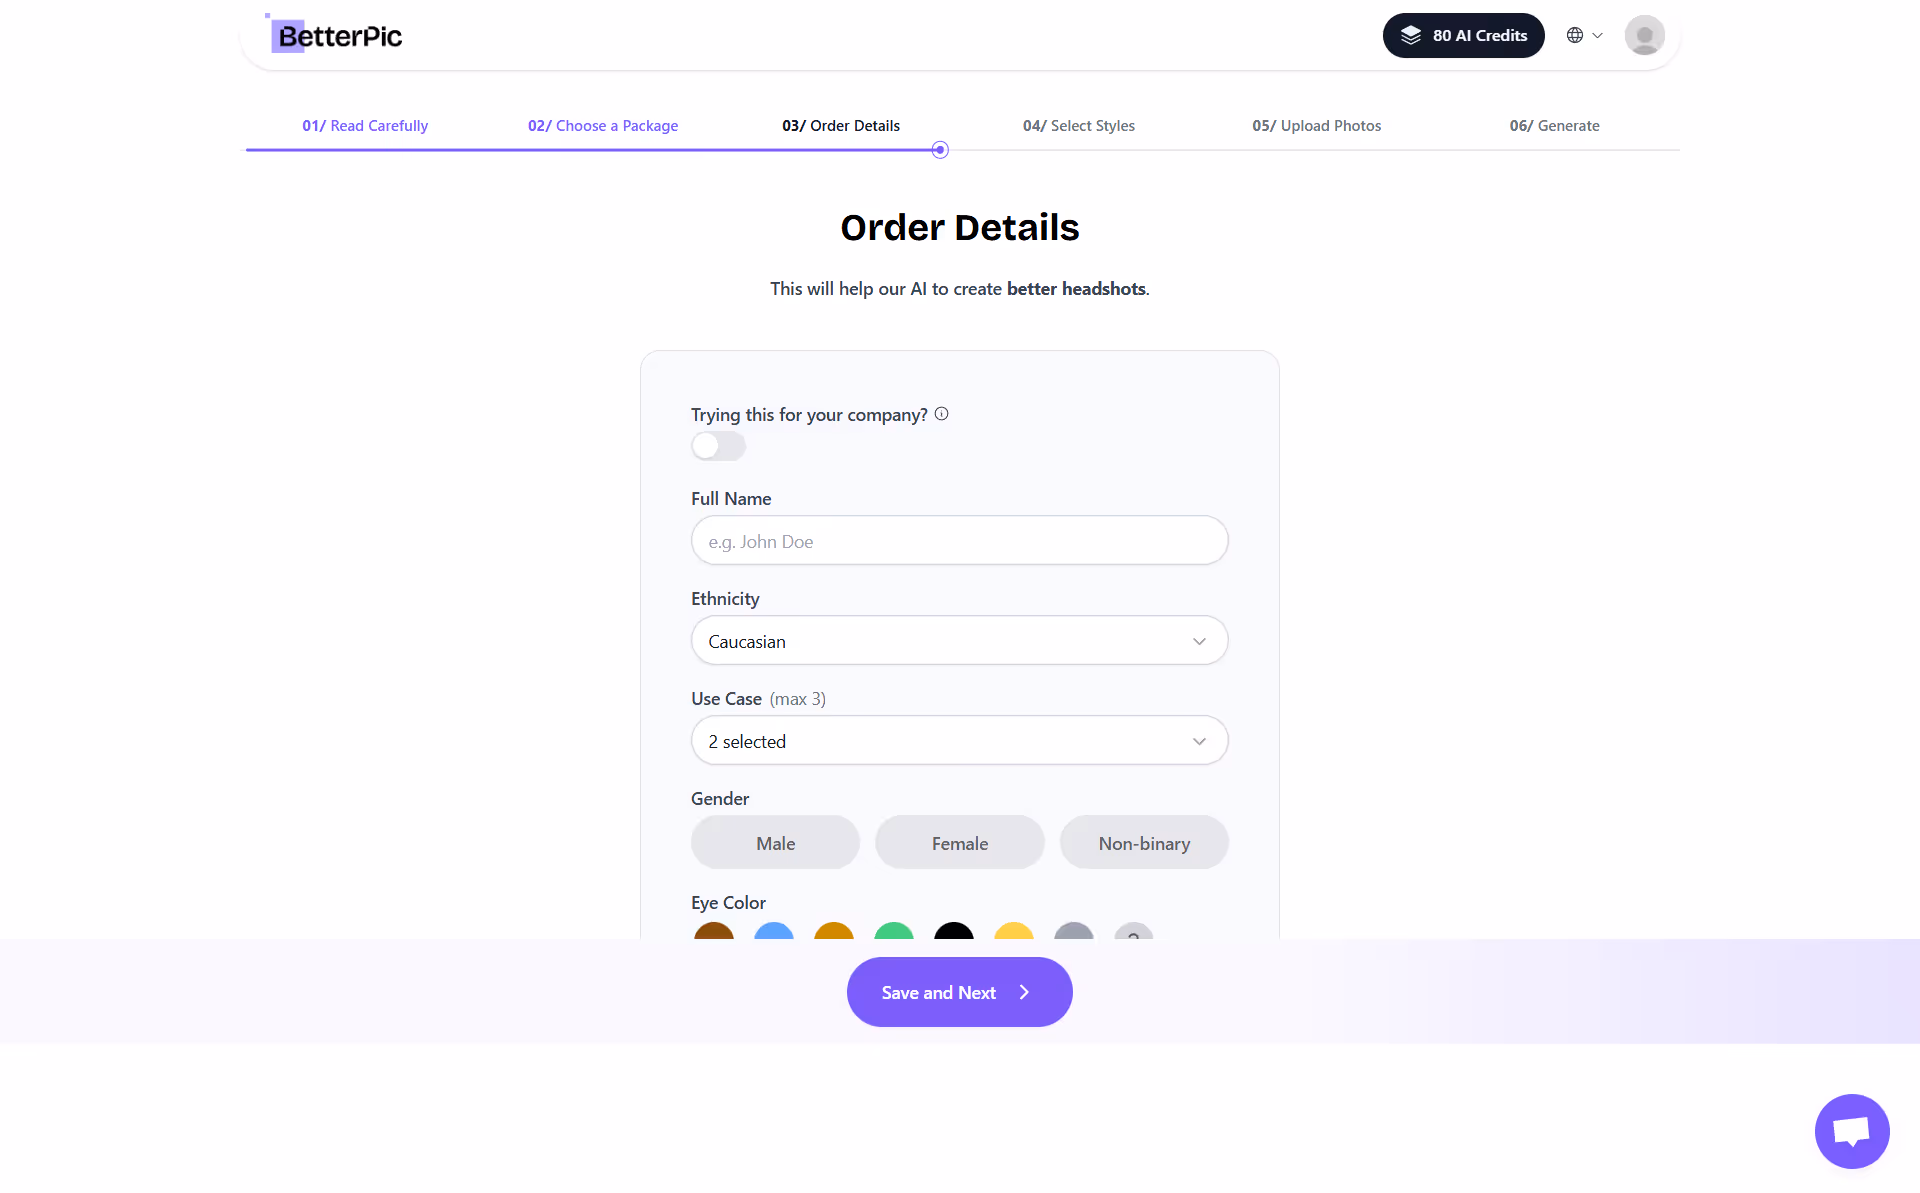
The interface feels smooth and simple, like a modern photo app. Uploading photos is quick — they recommend around 10 to 20 for best results, and they even guide you with tips like avoiding group shots or bad lighting. After uploading, it’s just one click to start generating. I found the whole flow clear and stress-free. Even their editing tool was easy to use — I changed the color of a blazer just to try it out and it worked fine.
Output Quality
Honestly, I was impressed. The headshots looked super sharp. My facial features looked natural, and the lighting effects made them look like real photo studio shots. I ended up with different styles: formal, business-casual, and even a few fun ones with colorful backgrounds. Out of 60 images, about 45 were excellent, 10 were pretty good, and maybe 5 had weird details like an odd smile or a duplicated earring.
Pricing
I picked the $39 Pro plan, which gave me 60 images and access to editing features. It’s not the cheapest tool, but for that quality and quantity, it felt fair, less than $1 per headshot.
How to generate images?


Final result is delivered in around 30 minutes:
What I Liked Most
- Super fast, 30 minutes for 60 headshots is amazing
- High-res, print-ready images
- Lots of style choices so you can experiment
- Clear instructions and no learning curve
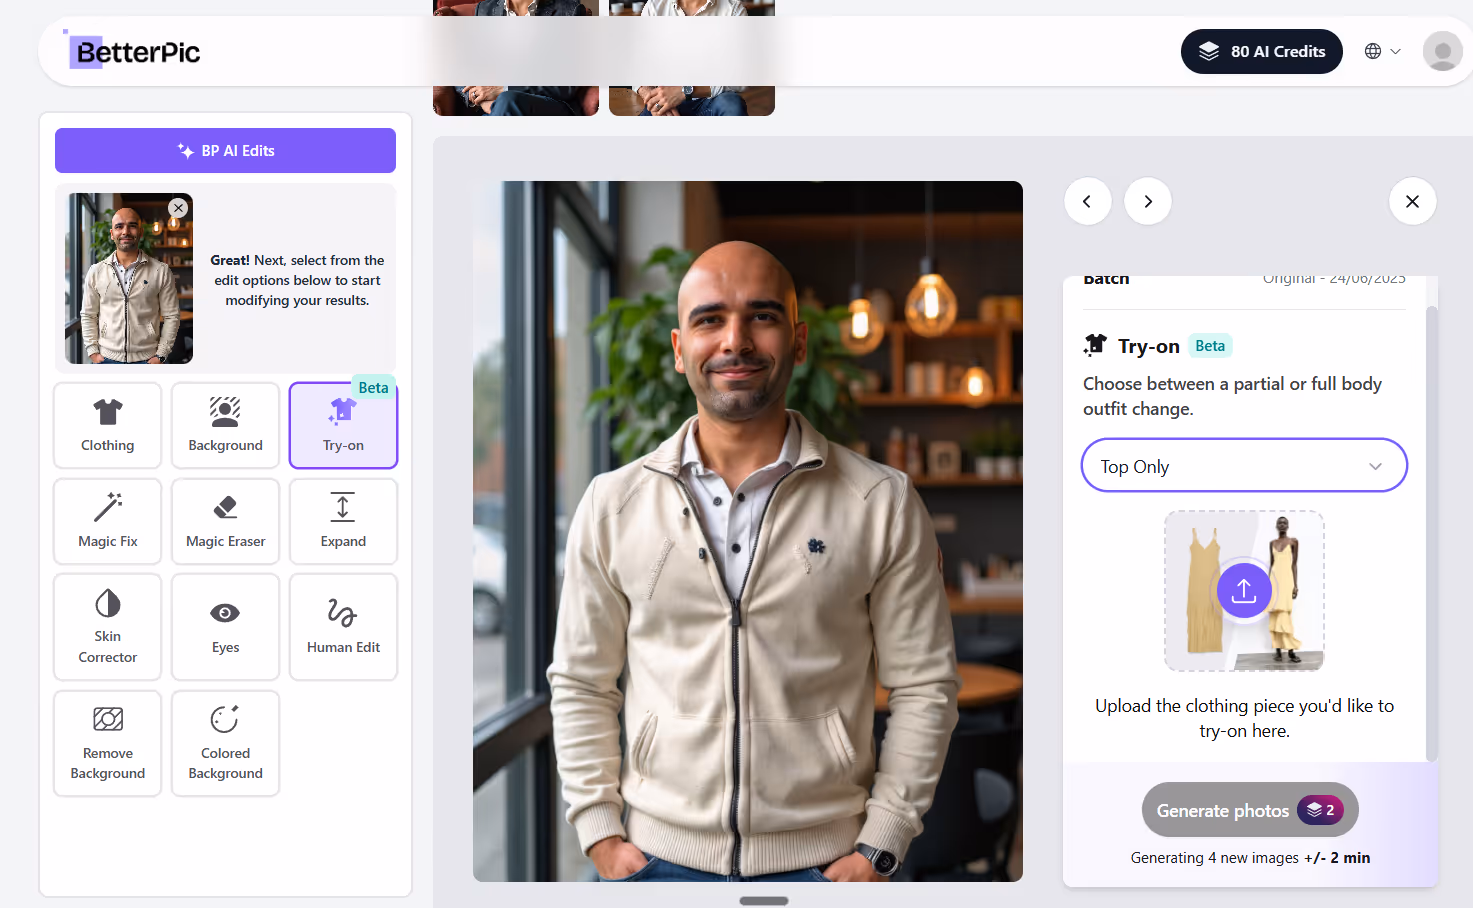
- Human edit feature where you can request a human to edit the final touches. (Pretty nice!)
- Try-on feature allows you to upload the clothing piece you'd like to try-on via ai.
What Could Be Better
- Some results were a bit too creative for me (like an orange jacket I’d never wear)
- You’ll need to sort through a big gallery to find your favorites
- Not the cheapest option, but still way cheaper than hiring a photographer
Best For
I’d recommend BetterPic to anyone who needs professional-quality headshots fast, perfect for LinkedIn, company pages, event posters, or just testing out different looks. If you’re in a rush or just don’t want to deal with a real photoshoot, BetterPic is worth it.
2. HeadshotPro – Fast & Consistent for Teams
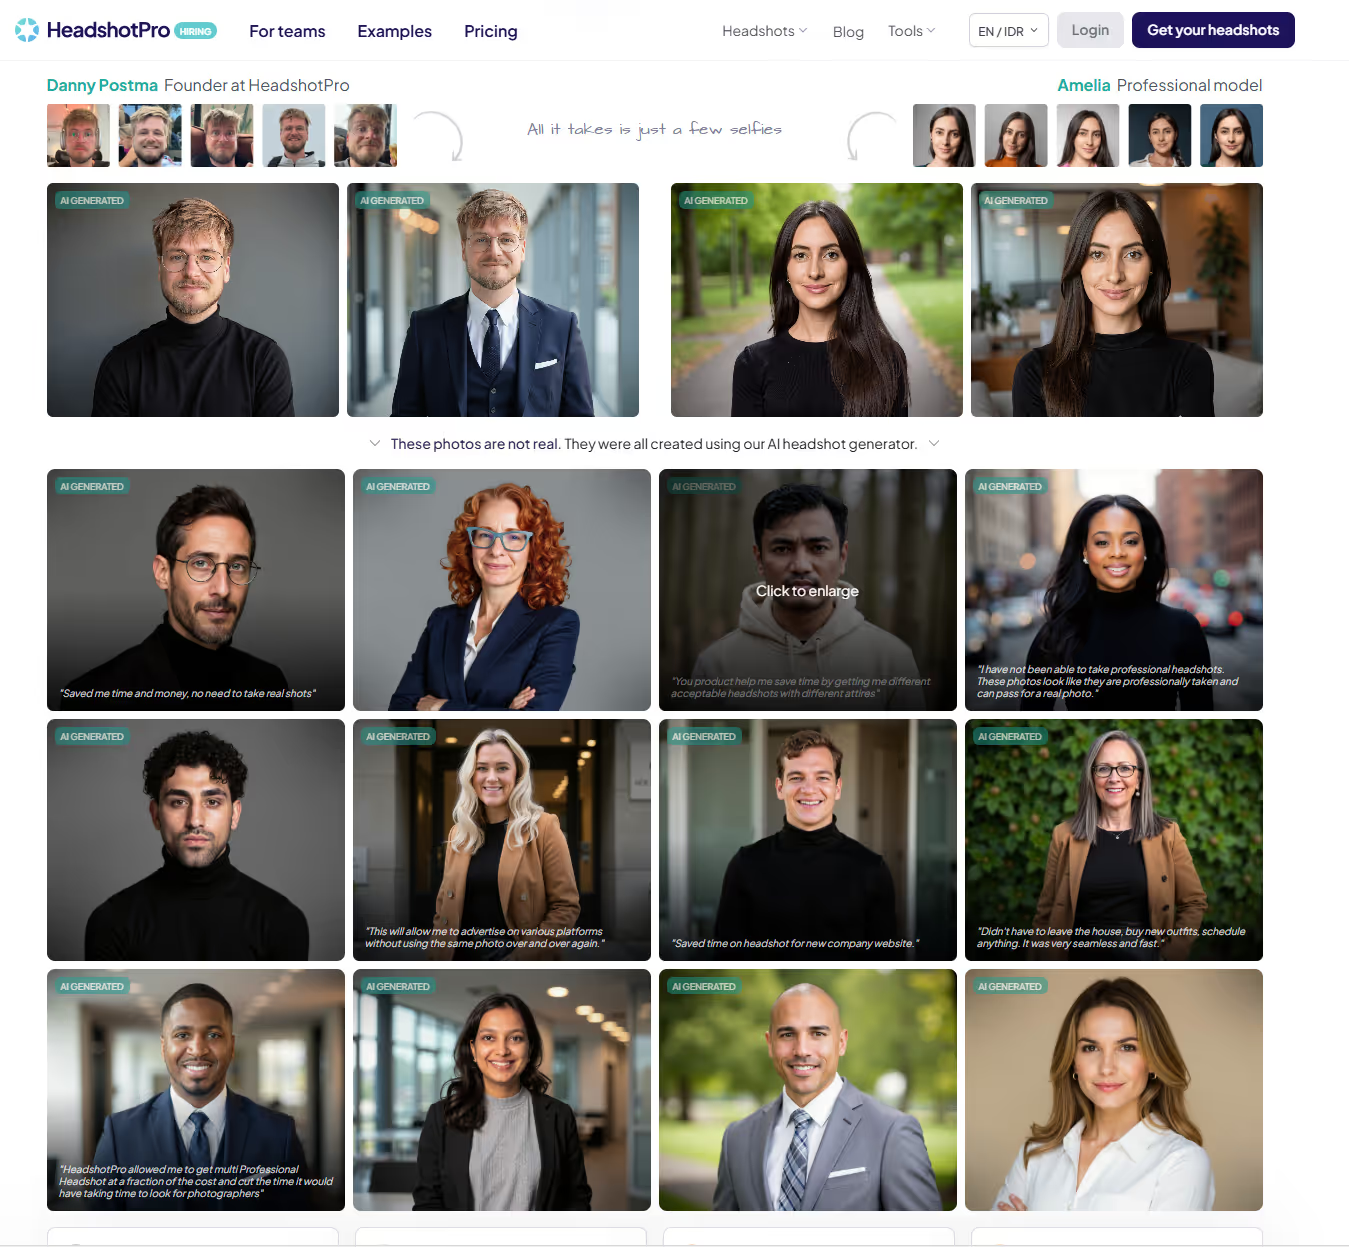
My Experience Using HeadshotPro
HeadshotPro delivered one of the fastest experiences I had. I uploaded about 10 selfies taken in different settings, and within two hours, I had a full gallery of over 200 AI-generated headshots ready to go. The process was smooth and required very little effort. What stood out most was how consistent the lighting and style looked across all the images, which made them feel like they came from an actual studio session. This would be especially useful for companies needing team-wide headshots that match.
Key Features
HeadshotPro focuses on speed and consistency. Some standout features I noticed:
- Delivers over 200 image variations in under 2 hours
- Uses Flux Technology for more photorealistic results and fewer AI glitches
- Allows uniform headshots for teams or company-wide branding
- Offers a guided upload process to help you pick the right input photos
The tool made it clear what kind of selfies worked best, like well-lit shots without sunglasses, and flagged anything that might cause issues.
Ease of Use
Uploading my selfies was simple. The interface was clean, and instructions were clear. I appreciated that it walked me through choosing good input photos, and once I uploaded everything, the rest was automatic. I didn’t need to tweak anything or babysit the process. About 90 minutes later, I got an email saying the headshots were ready. Browsing through them was easy, and downloading the ones I liked only took one click.
Output Quality
The quality was impressive for the speed. Most of the photos looked sharp and professional. I got a mix of styles — some in suits with clean office backdrops, others more casual but still polished. Out of the 200+ results, I found around 10 to 15 that I’d actually use. Some had small issues, like a slightly off smile or an awkward ear, but that’s expected when the tool gives you this many variations.

When it starts it looks like this. The platform puts you in an easy flow totake your information and asks you to upload images. A bonus it allows you to upload with your phone even if you connected via desktop browser.
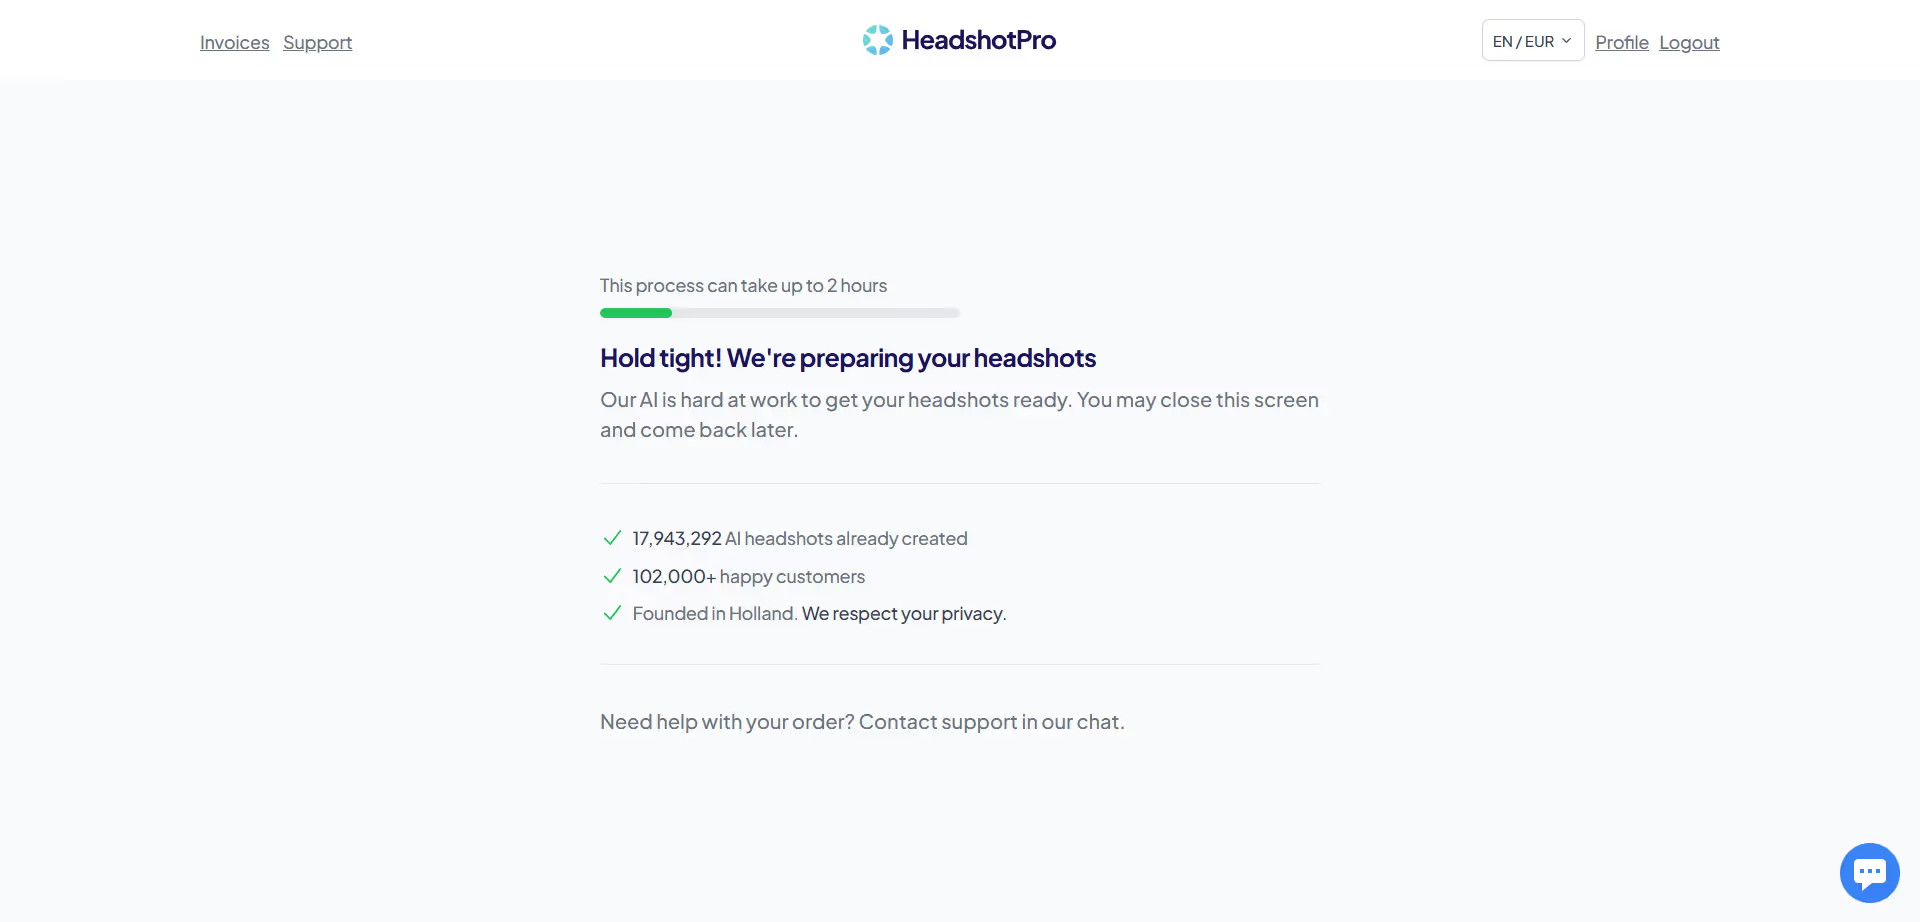
Around 1-2 hours after you get an email saying the photos are ready!
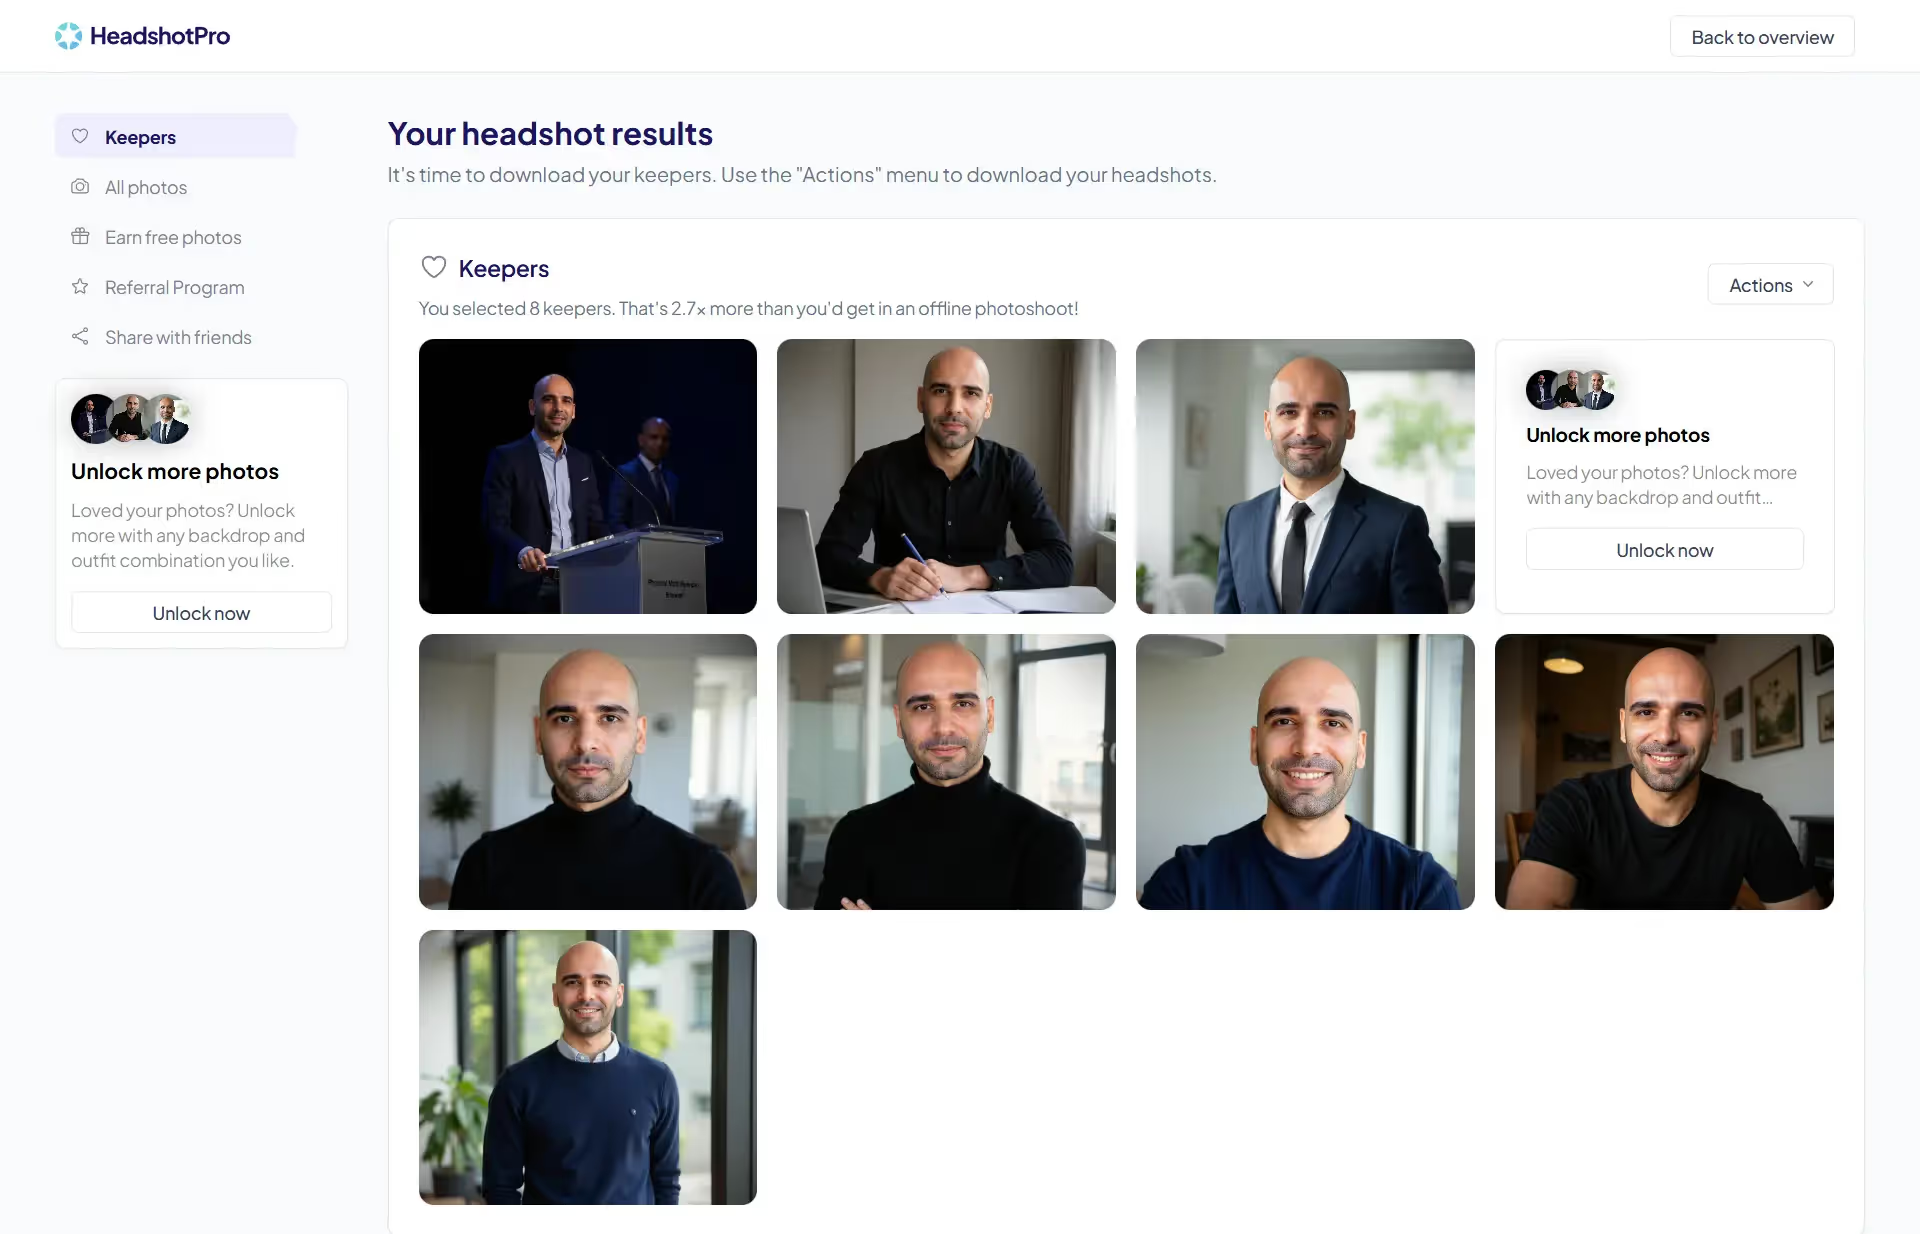
You can go ahead and select the best photos and download all
Pricing
I used the Starter plan, which cost about $29 for 40 downloadable headshots. There are higher packages for more images and faster delivery. They also offer team pricing, which makes sense given how well the tool works for group branding. There’s a free version available too, but it only gives you one simple preview and the quality is noticeably lower. For what I got, the pricing felt fair and much cheaper than a studio shoot.
What I Liked Most
- Fast results with high image volume
- Professional-looking outputs
- Great for individual and team use
- Easy process from upload to download
What Could Be Better
- Some results needed sorting through due to small visual quirks
- No free plan with full-quality downloads
- Too many variations can feel overwhelming if you're just looking for one perfect shot
Best For
HeadshotPro is a solid pick if you need a wide range of headshots quickly. It's great for professionals updating LinkedIn or job application photos, and even better for startups or remote teams who want everyone to have a matching, professional look. If you want speed, variety, and consistency, this tool delivers.
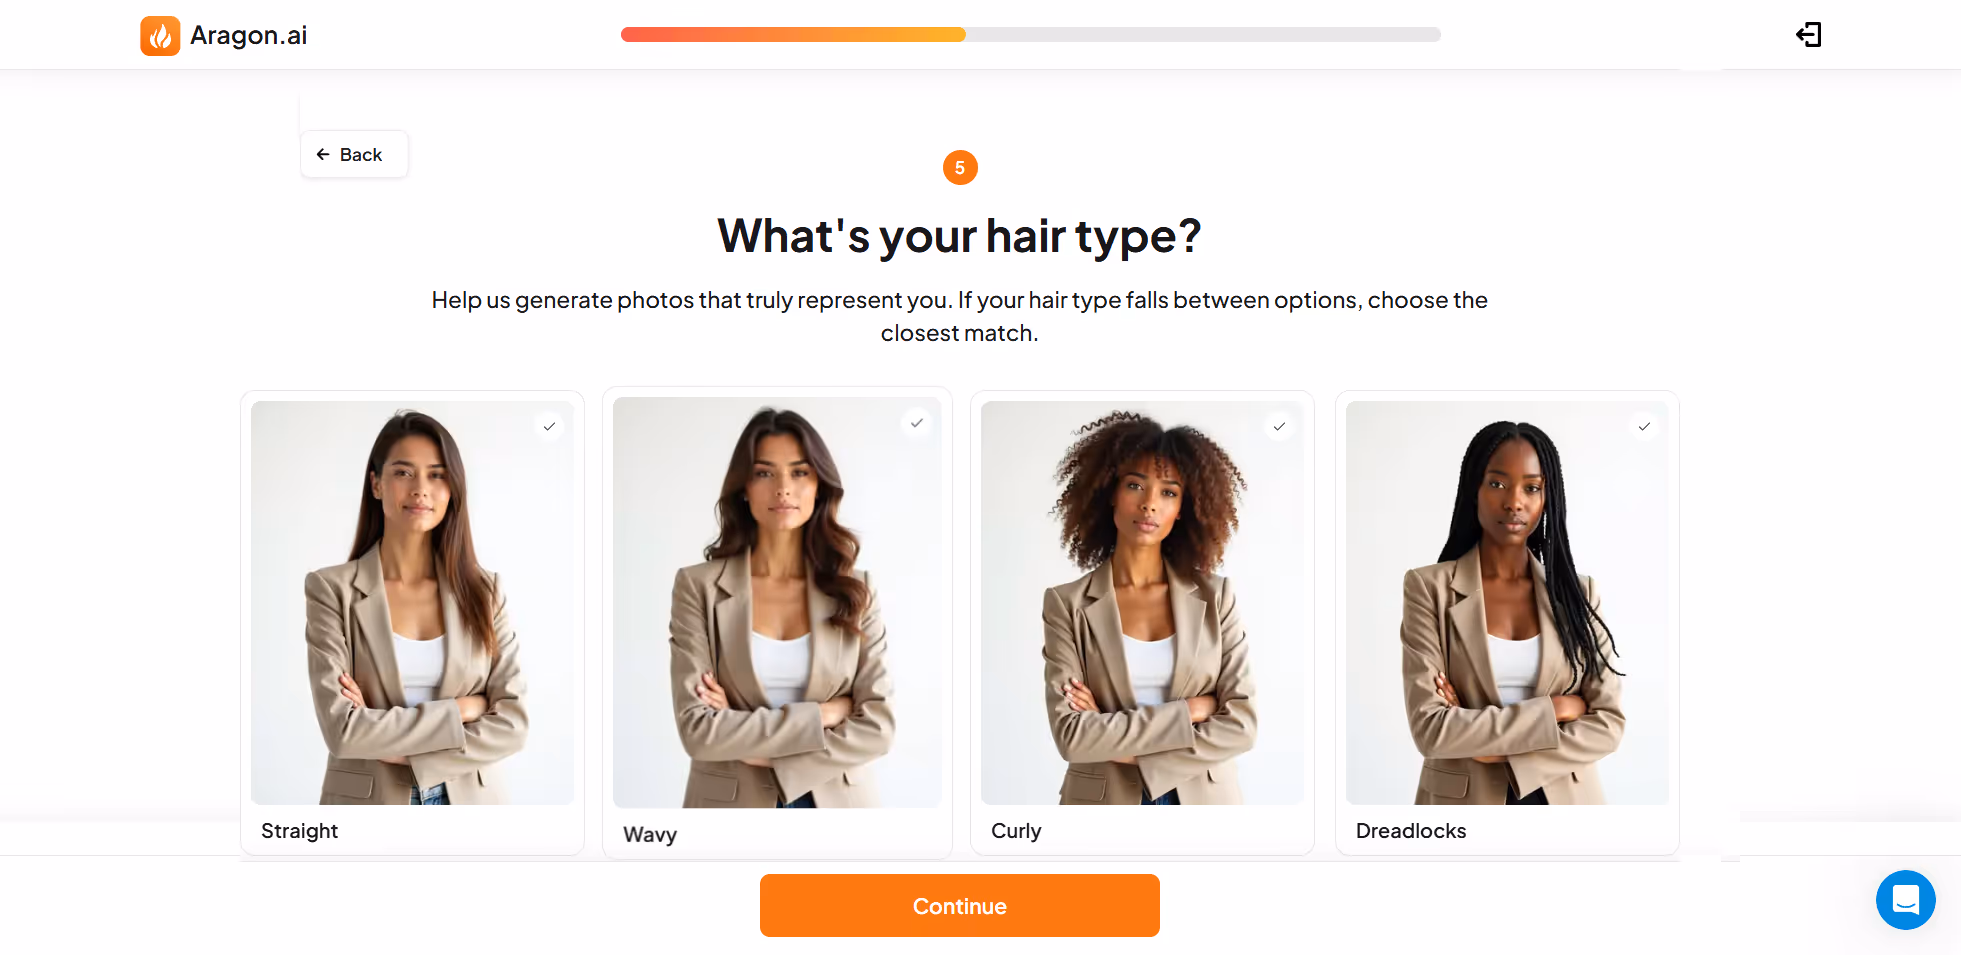
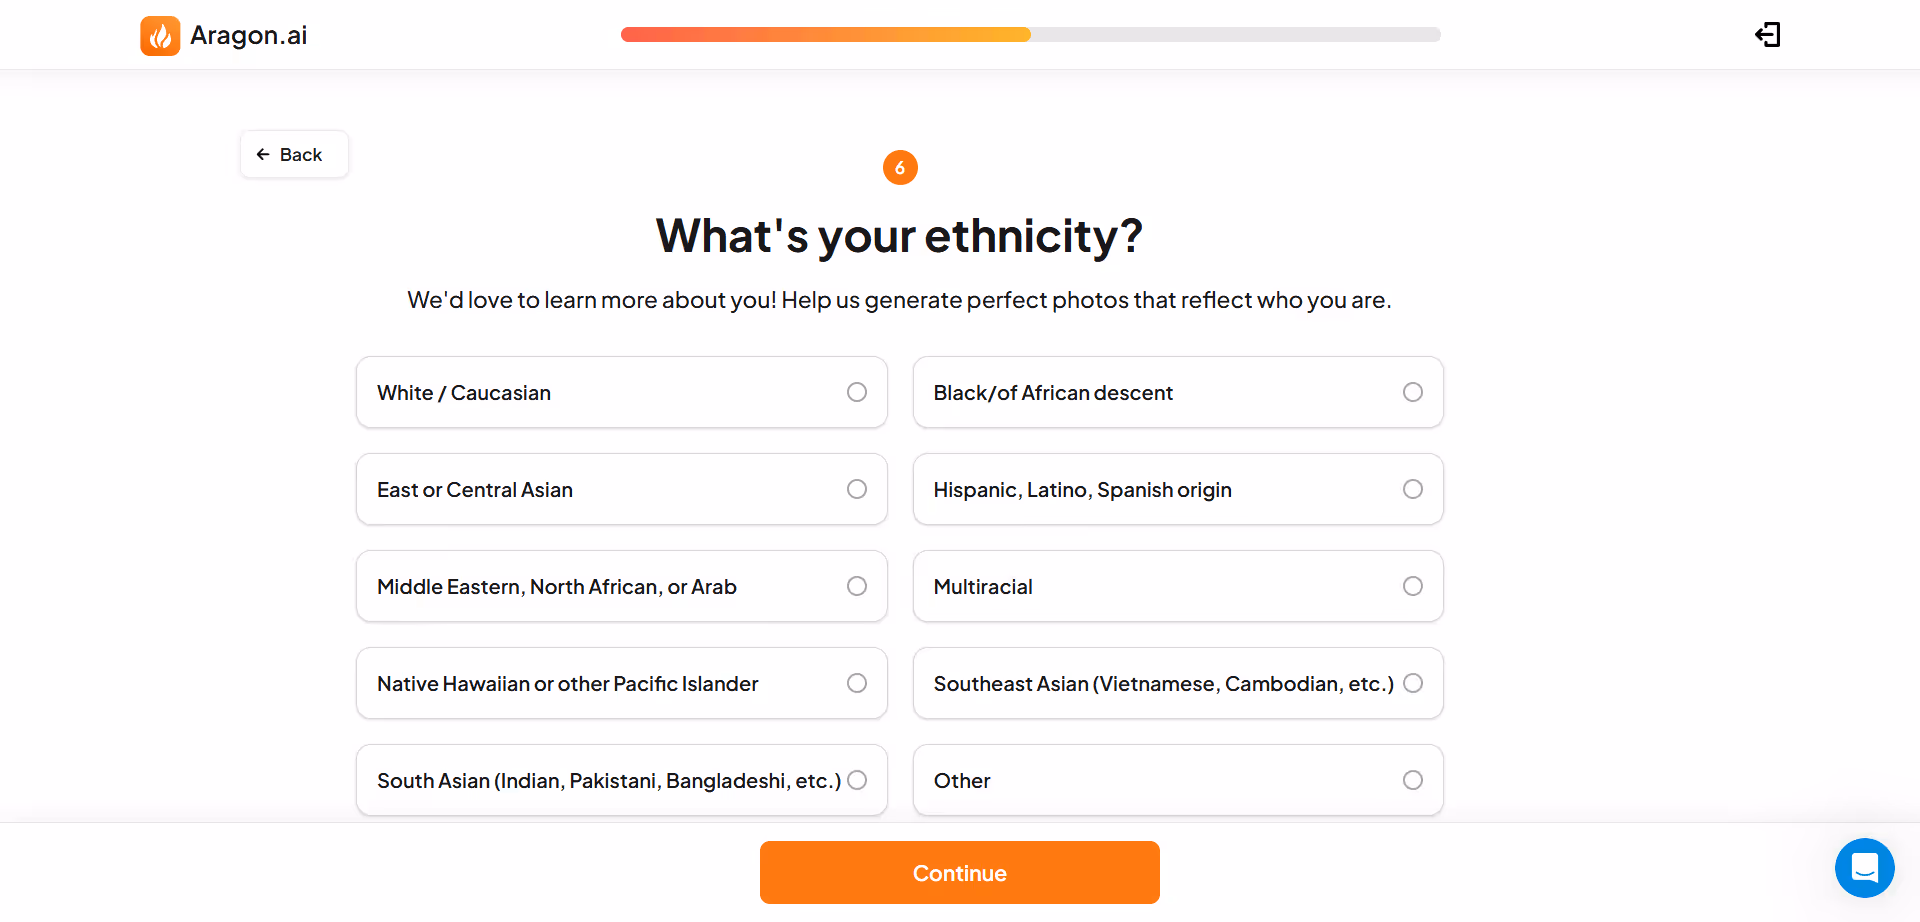
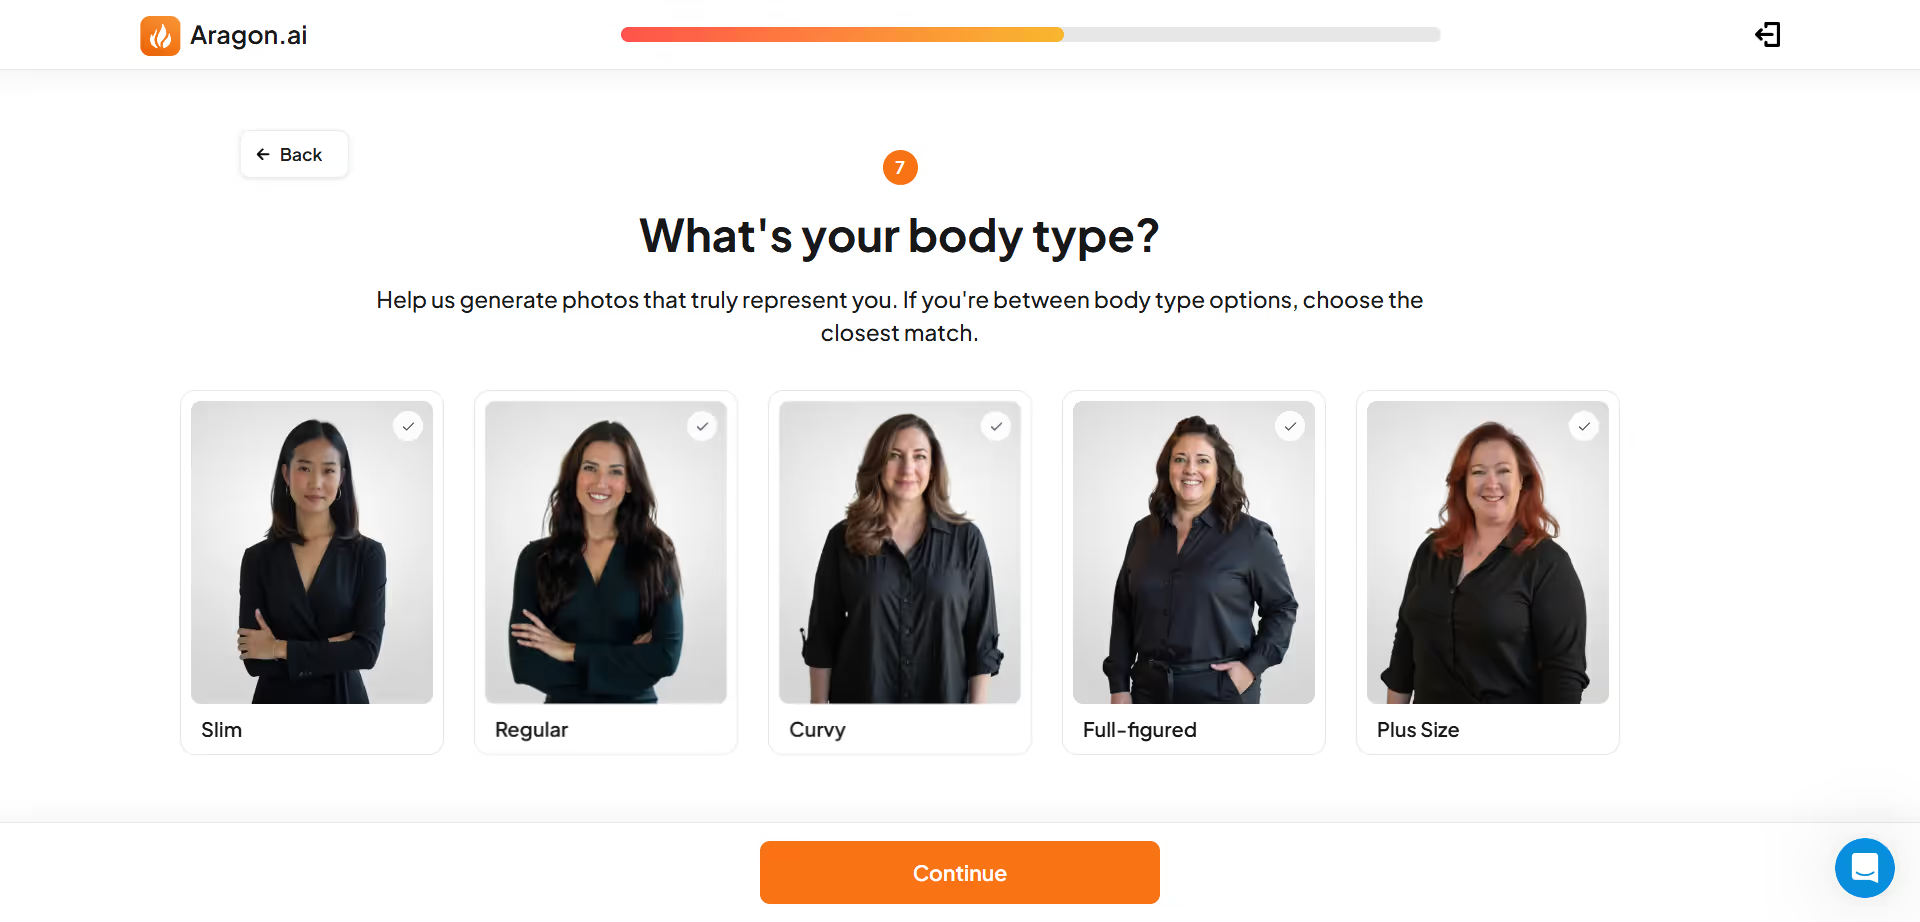
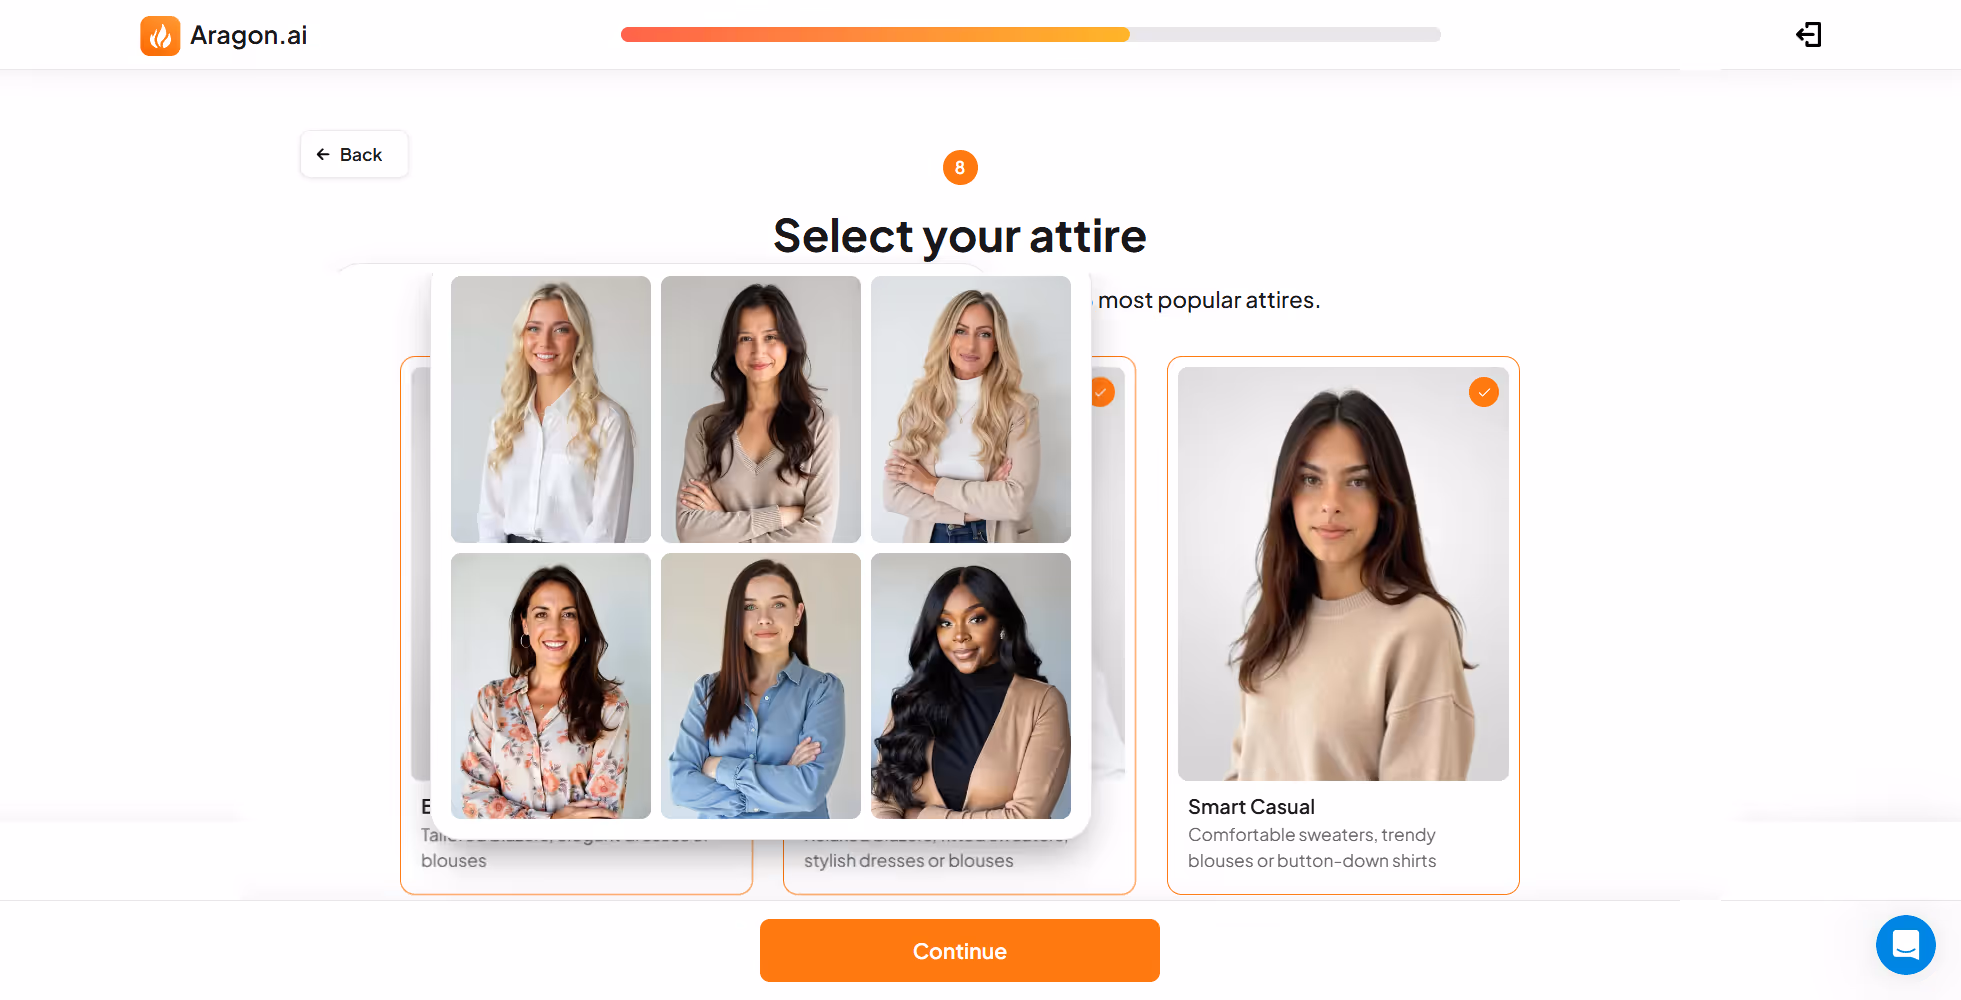
3. Aragon AI – High Variety & Customization
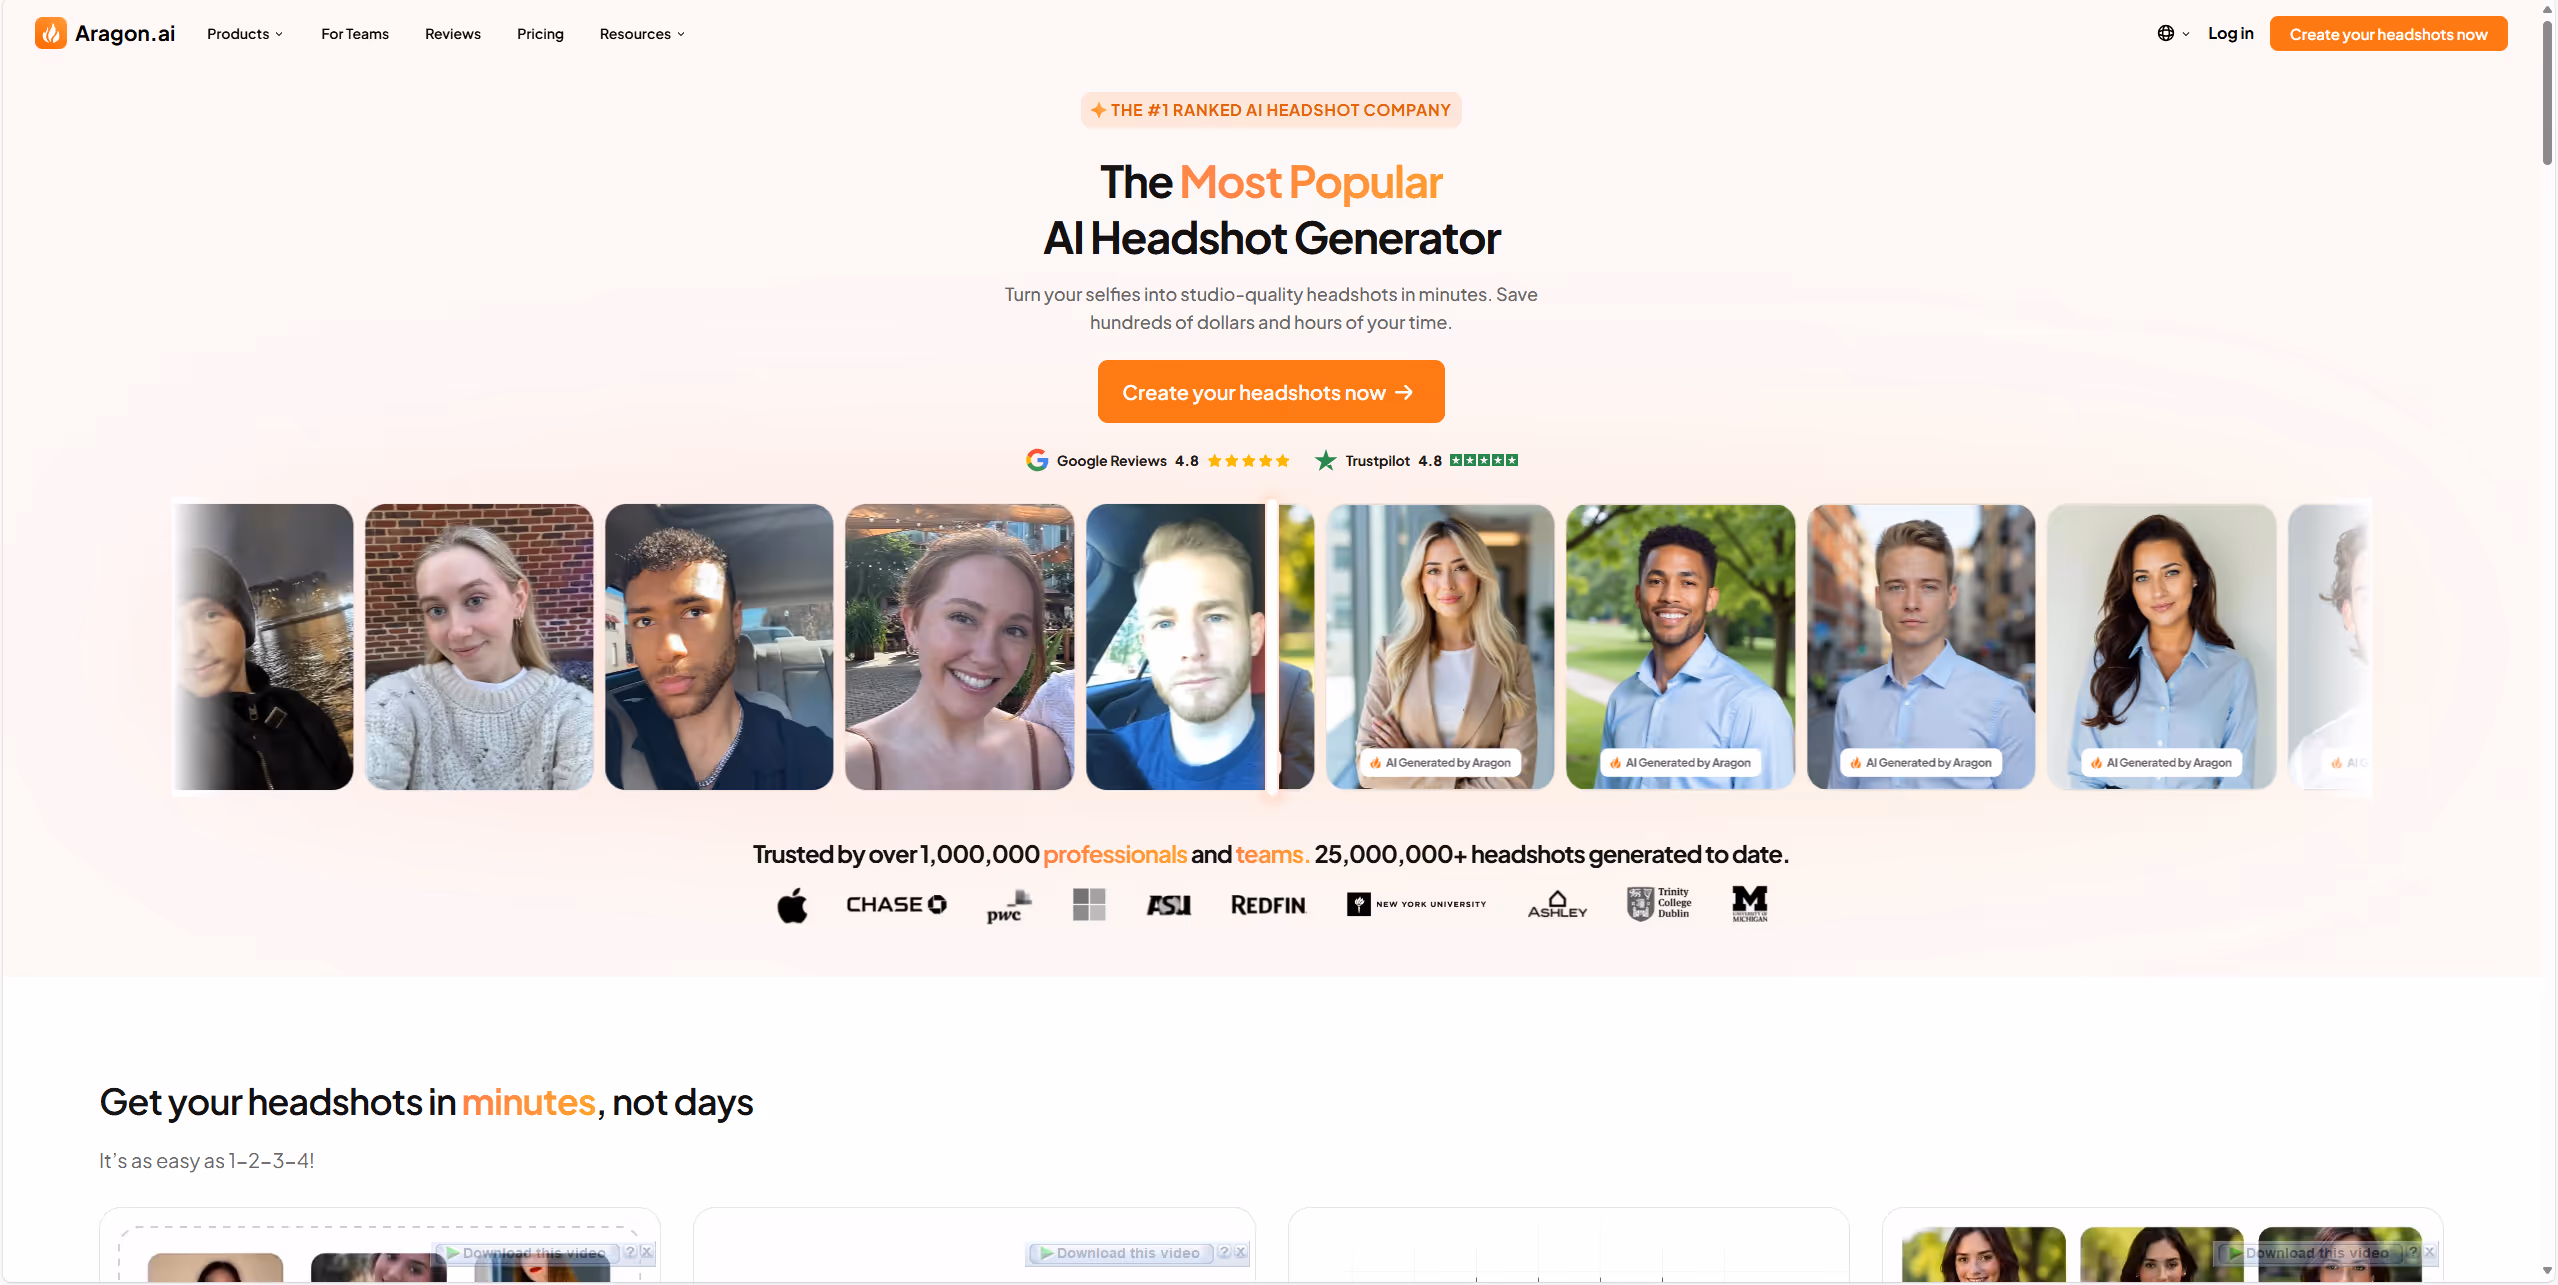
My Experience Using Aragon AI
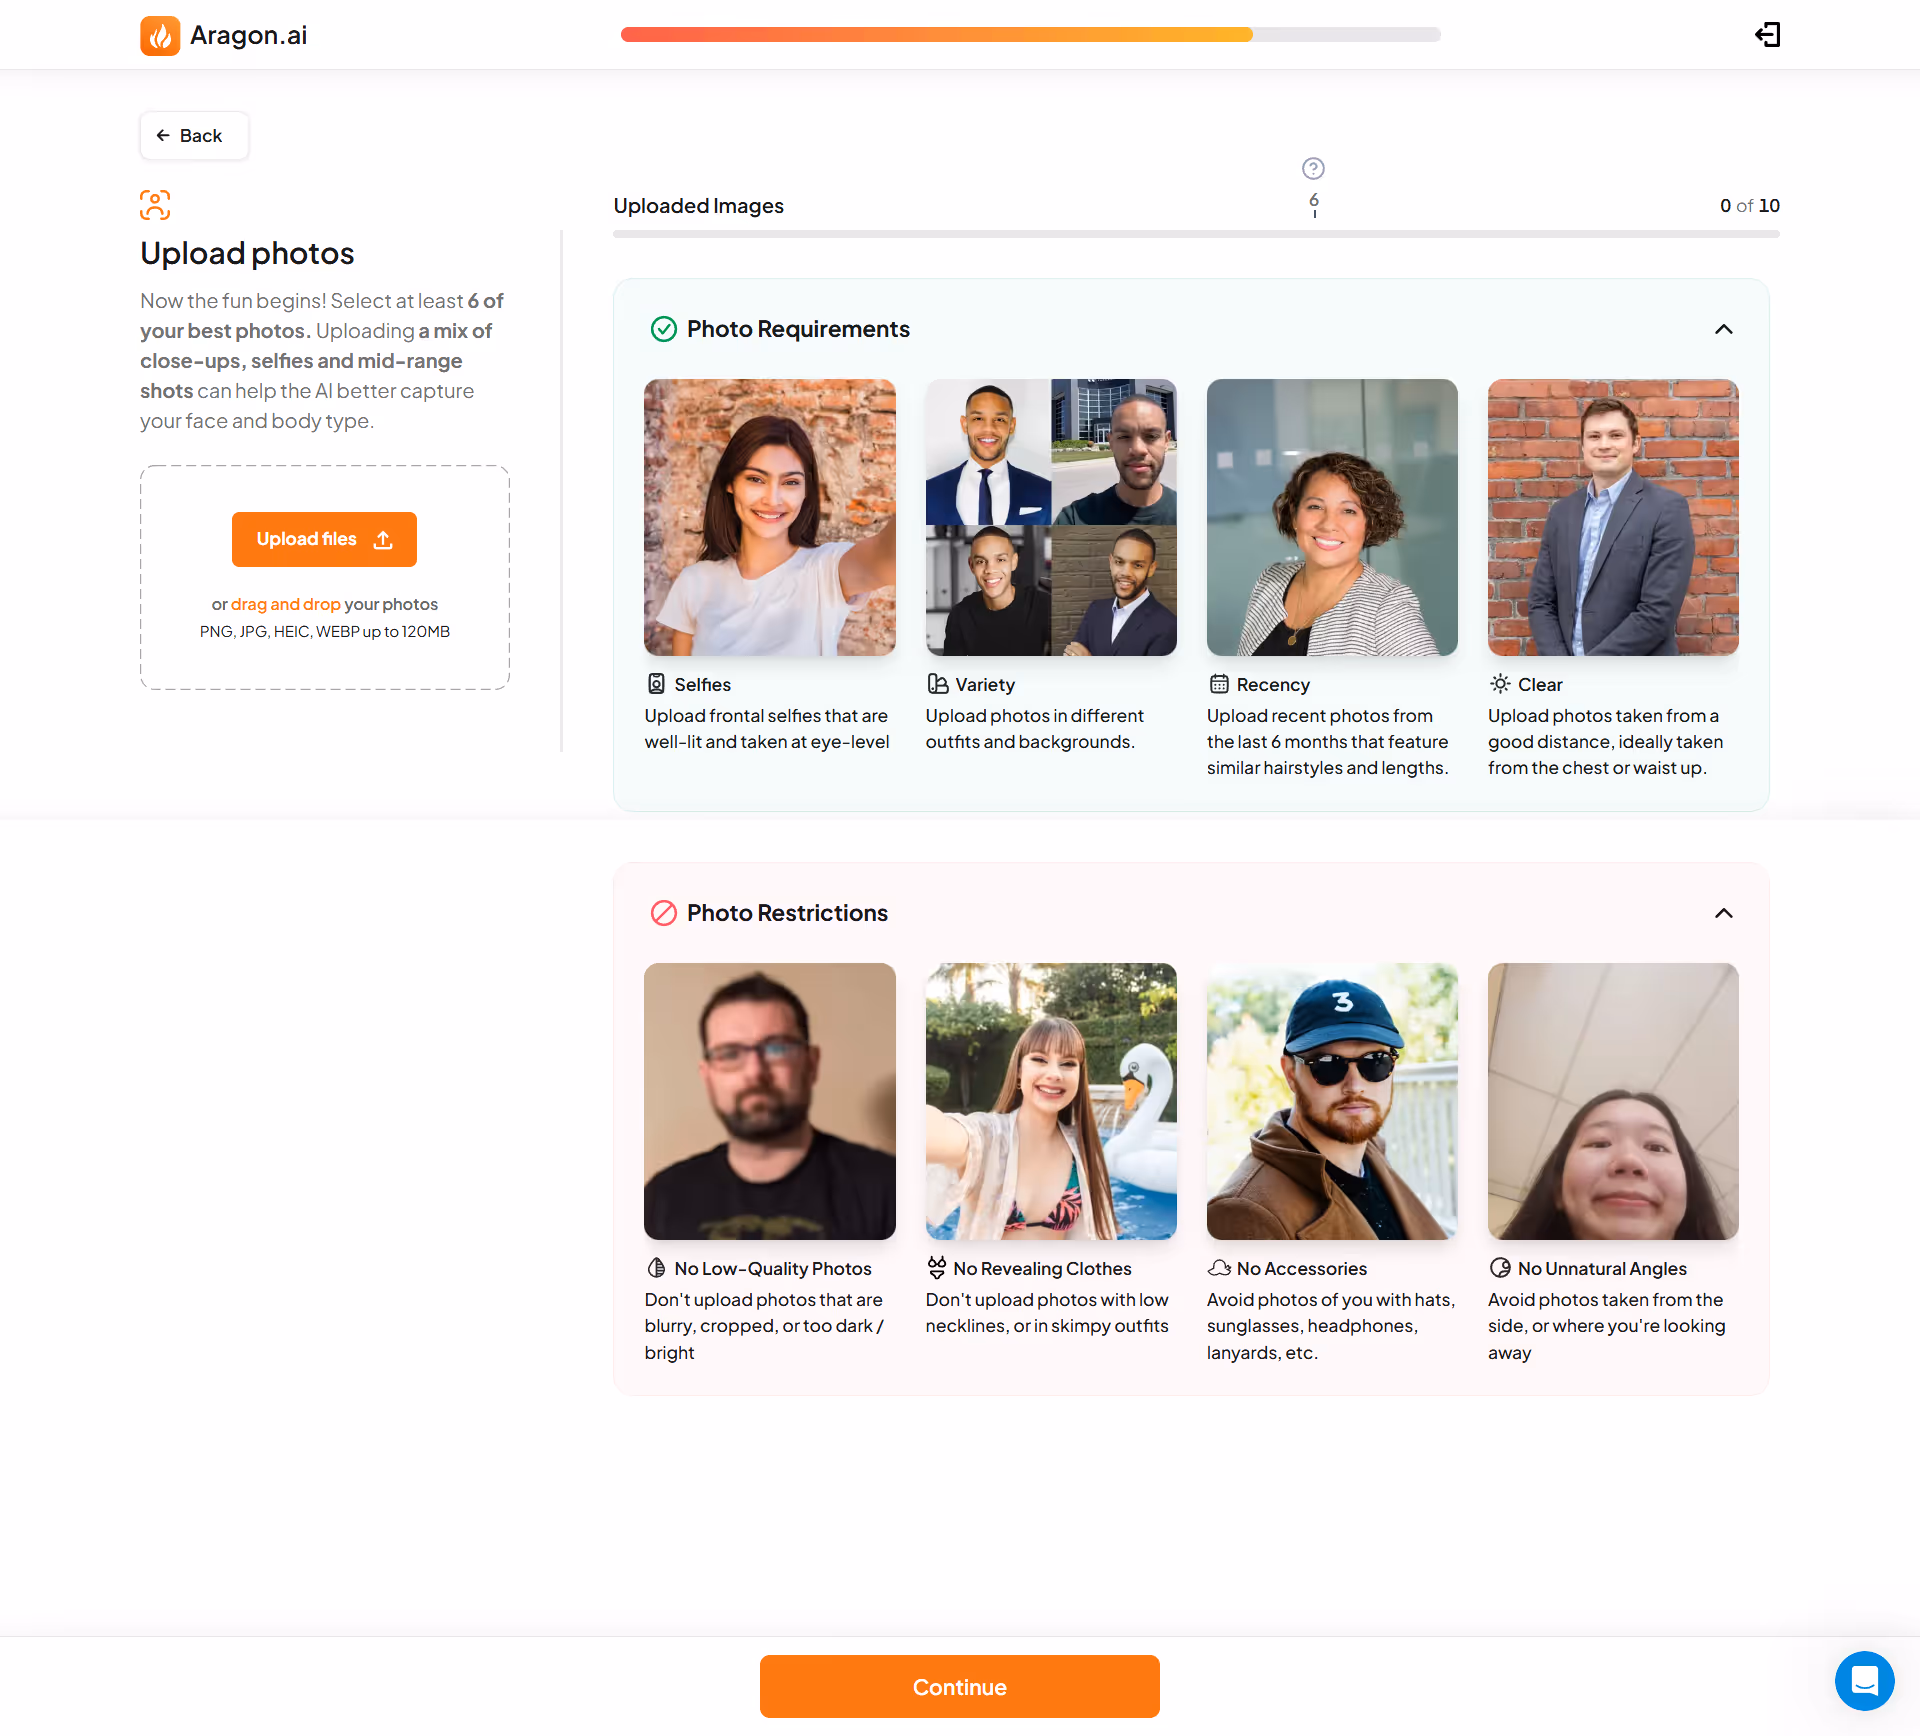
Aragon felt more detailed than the other tools I tried. Right from the start, it asked me for things like my profession and the kind of vibe I wanted in the headshots — corporate, creative, etc. I even got to pick visual preferences like hair color and outfit style. This made the whole process feel more personalized. I uploaded around 12 selfies and spent a few minutes going through the style quiz. It took about 10–15 minutes to set everything up, and around an hour and a half later, I received 40 headshots. While it wasn’t the fastest, the extra effort in the beginning seemed to help with accuracy and output.
Key Features
Aragon puts a big focus on variety and style control.
- You can customize your look based on job role or theme (e.g., teacher, entrepreneur, doctor)
- Offers up to 100 headshots depending on the plan
- Produces high-resolution images (up to 2048×2560 pixels)
- Built-in quality check system that flags low-quality uploads
- Smart personalization for outfits, backgrounds, and even lighting moods
I really liked that it wouldn’t let me continue if a photo was blurry or had poor lighting — it asked me to replace it before generating anything. That gave me more confidence in the final result.
Ease of Use
The setup took a bit longer than with other tools, but nothing too complex. I uploaded my selfies, went through their quick style guide, and answered a few image preference questions. After that, it was just a matter of waiting. The interface was clean and clear, and I appreciated the real-time feedback on photo quality. The waiting time was about 90 minutes, which is fine for a one-time use.
Output Quality
This is where Aragon really stood out. The images looked incredibly lifelike — facial details, skin texture, and lighting were all on point. Even things like my glasses were rendered correctly, which many other tools mess up. I had a good mix of backgrounds and outfits, from office-style shots in a blazer to more relaxed but still professional photos.
Some images weren’t perfect — one gave me an unusually sharp jawline, and another had slight overexposure on one side of my face — but these were rare. Out of the 100 images I ended up getting (thanks to a surprise upgrade), most were polished and usable, especially for LinkedIn or a personal website.
Pricing
I started with a plan that cost around $35 for 40 headshots. They have higher-tier plans too, like:
- Around $45 for more images
- Premium plans ($70–$79) for 100 headshots with faster turnaround
There’s no full-quality free version, but they now offer a small free demo with limited quality. For me, they unexpectedly upgraded my plan for free, so I received the premium batch. If you're on a budget, the pricing might feel a bit steep, but it gives you solid value with how many usable shots you get.
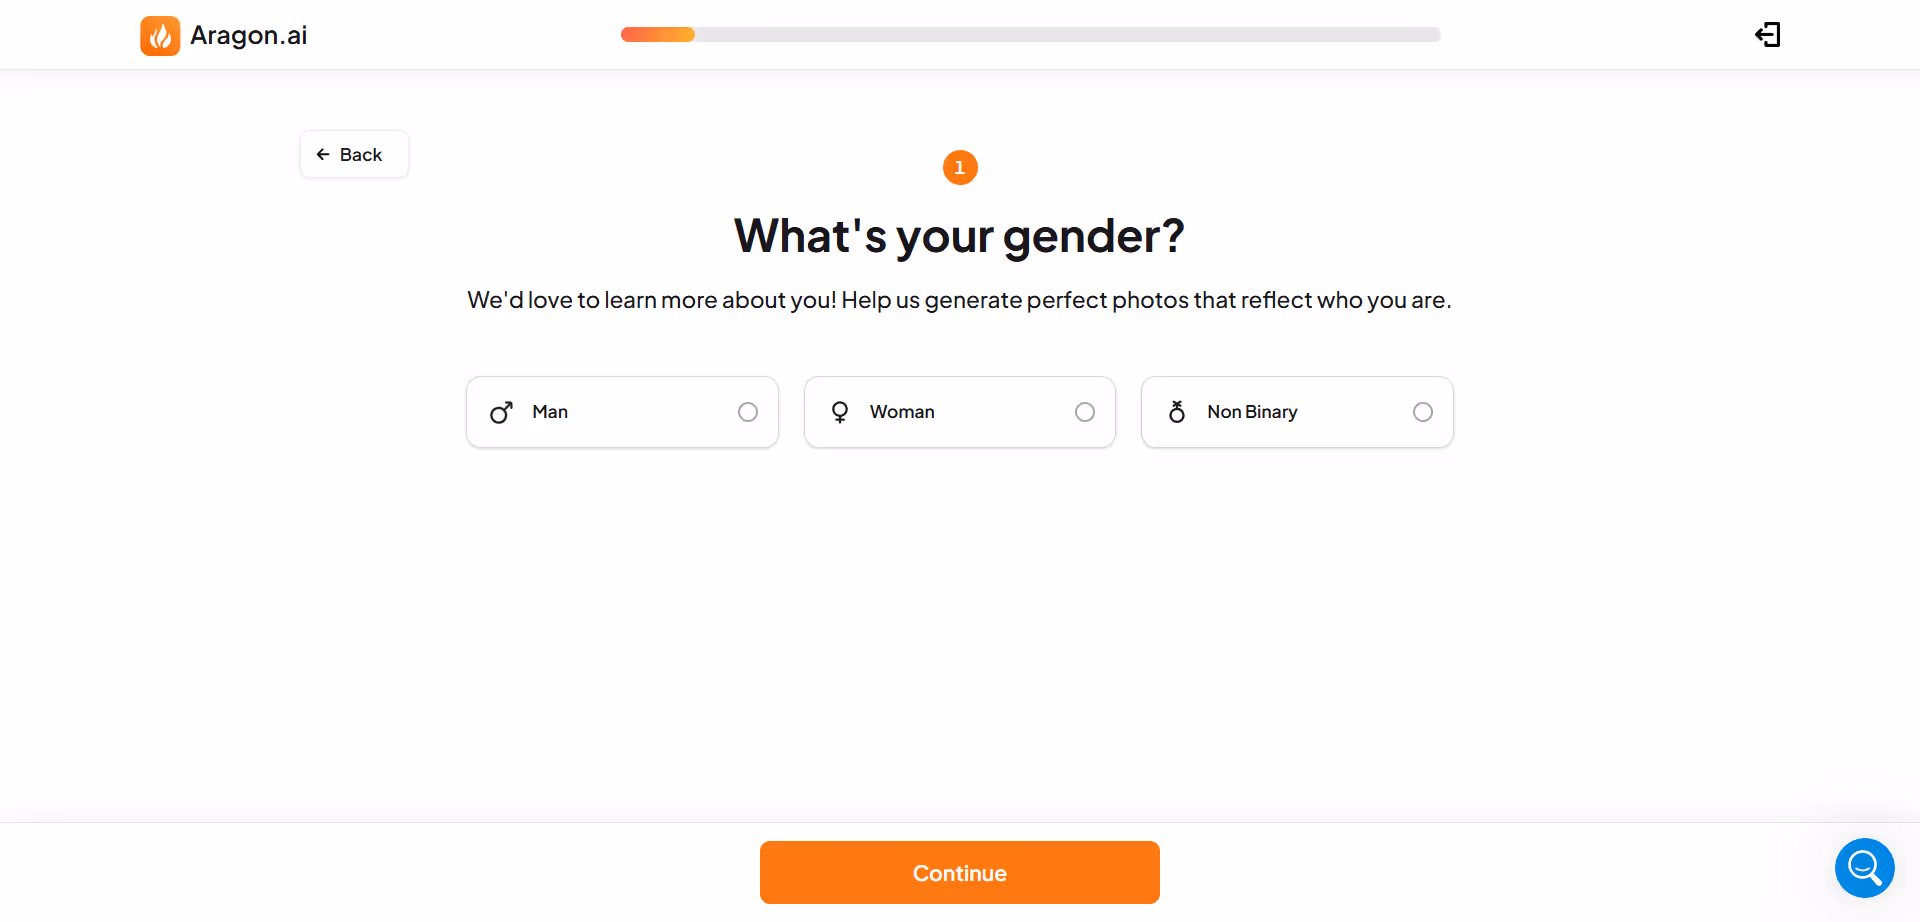
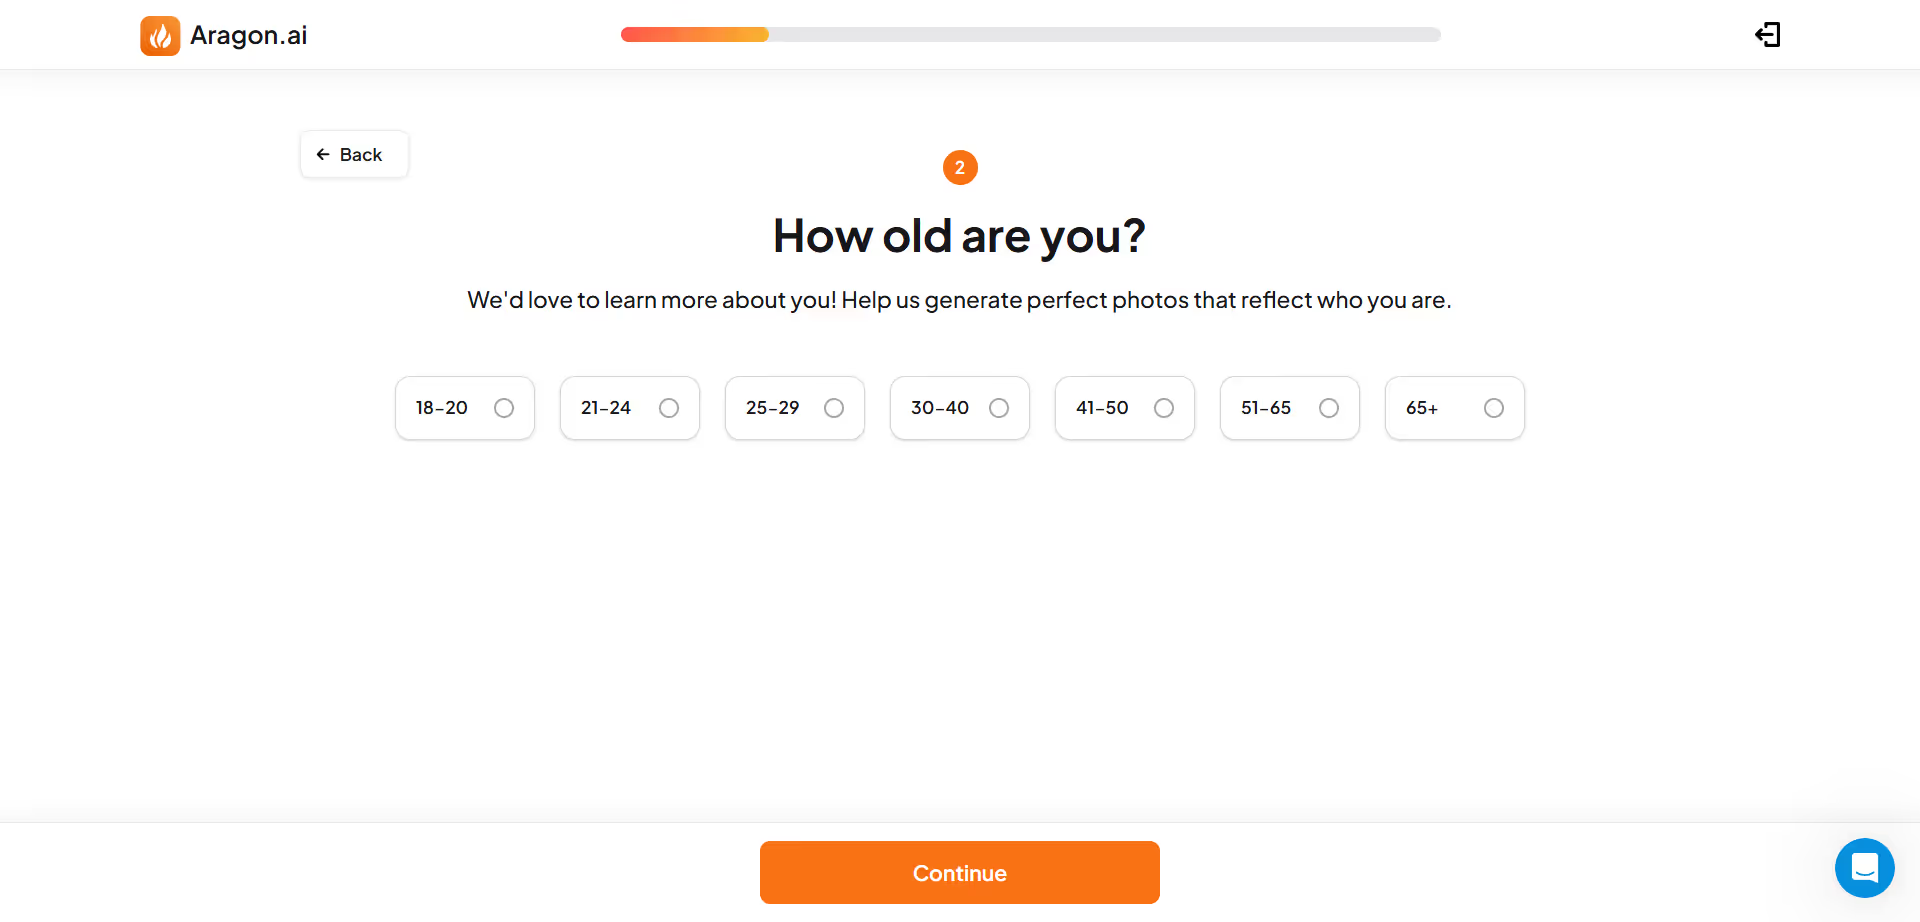
How does it look?
Here are some screenshots to show how the generation flows work:
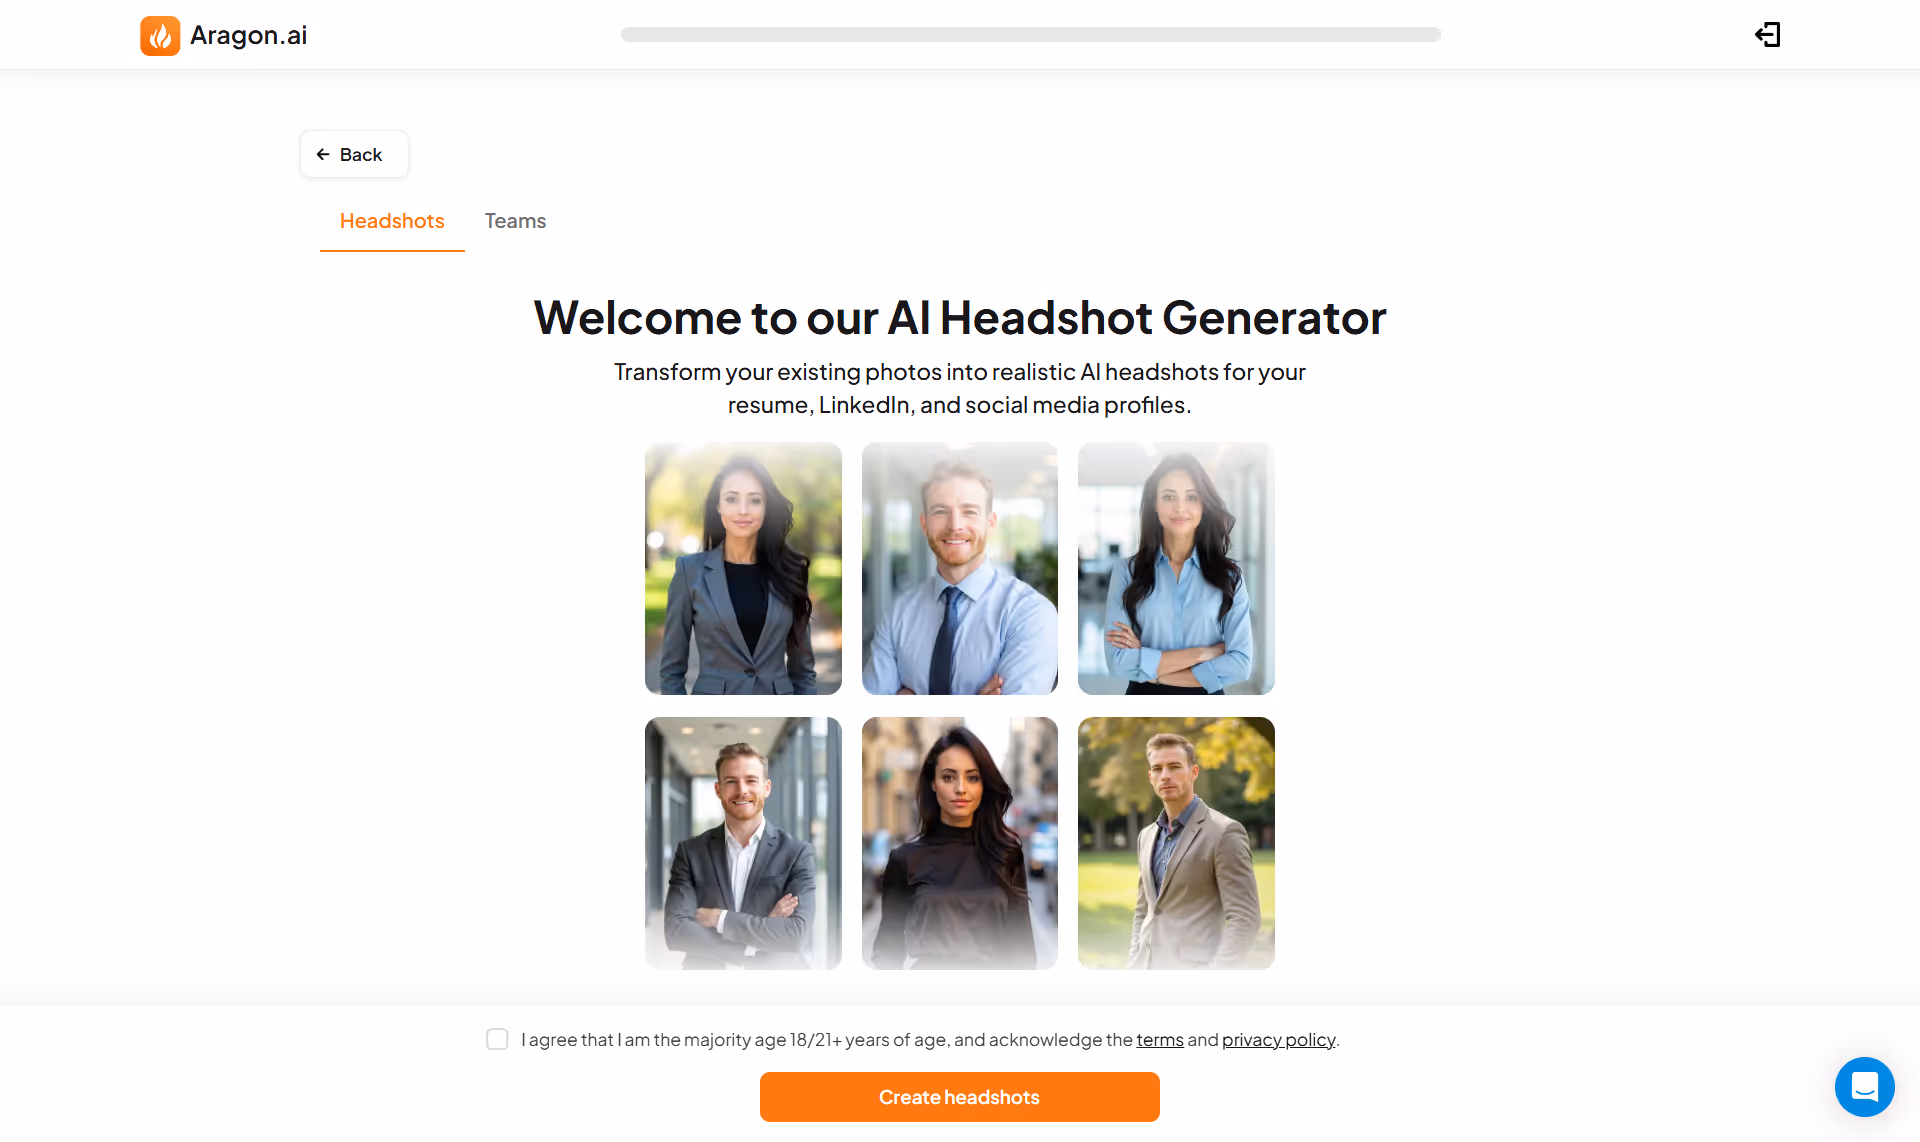
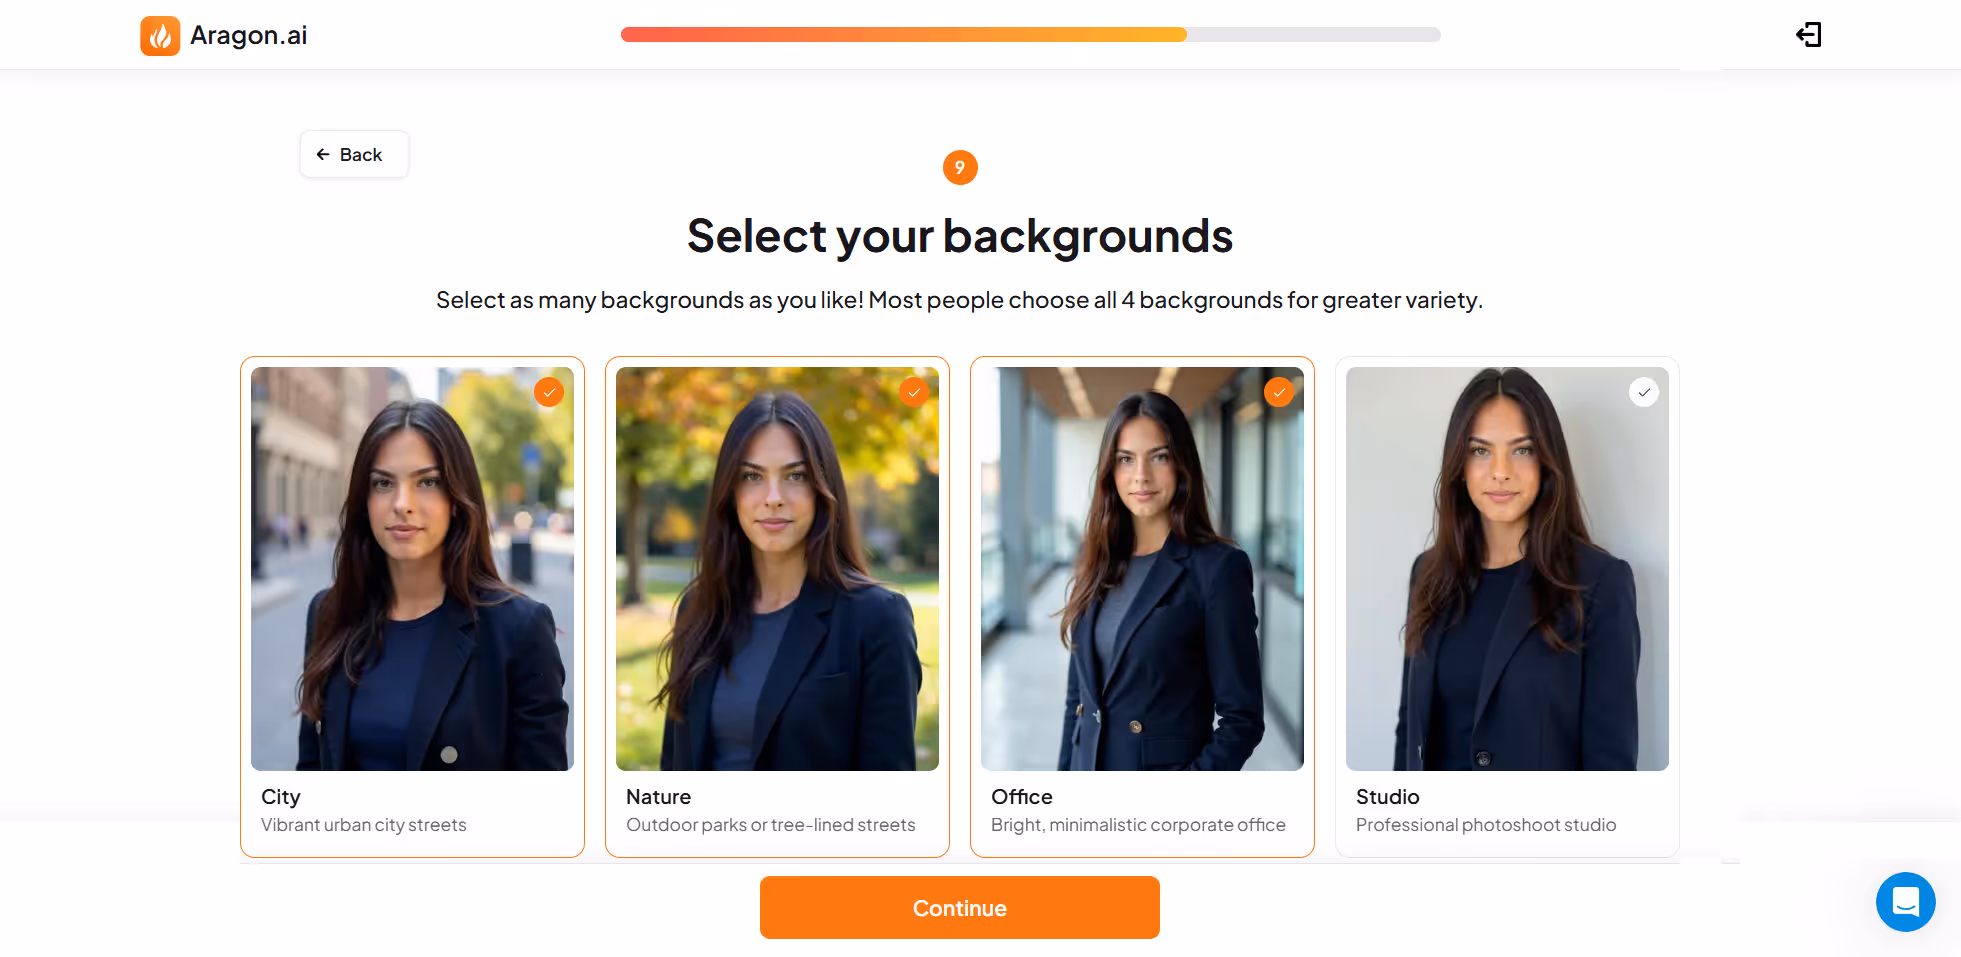
After submitting the photos your AI Headshots are ready in 30 minutes!
What I Liked Most
- Super realistic photos that barely looked AI-made
- Ability to control style based on career or personal brand
- High-resolution, print-quality results
- Smart photo validation before generation
What Could Be Better
- Takes a bit more setup time compared to faster tools
- Some output quirks (like lighting or awkward smile here and there)
- Pricing is on the higher side, with no full-featured free option
Best For
Aragon is a great pick if you're serious about how your headshots look and want full control over how you're presented. Whether you're an author, entrepreneur, jobseeker, or just picky about the details, this tool gives you room to fine-tune your appearance. It’s also ideal for anyone building a personal brand across different platforms. The images work well for everything from LinkedIn to speaker bios and company pages.
4. Secta AI – Massive Variety with Editing Control
My Experience Using Secta AI
Secta gave me more headshots than I knew what to do with. I had to upload 25 selfies to get started ,which took a bit of time, but the trade-off was over 180 AI-generated photos of me in all kinds of styles, outfits, and backdrops. It felt like I was seeing every possible version of myself, from formal office looks to casual park scenes. What stood out the most was how much I could customize after the photos were generated. I wasn’t just stuck with what the AI gave me, I could tweak a smile, change a shirt color, or adjust the background right from their editor.
Key Features
Secta’s all about quantity and control.
- Needs around 25 input selfies, but gives back over 180 results
- Offers a wide range of looks — suits, t-shirts, indoor and outdoor backdrops
- Comes with built-in editing tools to change expressions, lighting, and clothes
- Results delivered in under an hour, even with high volume
- Allows small touch-ups without re-uploading or starting over
One cool thing: I used the “Remix” feature to turn a straight face into a slight smile, and it worked seamlessly. It didn’t feel like I was editing — more like gently guiding the final touch.
Ease of Use
Setup took a bit more time than most tools just because it needs more selfies — and not just random ones. I had to find varied photos with good lighting and angles, which took a bit of effort. Uploading them was easy, and once that was done, Secta handled the rest. It took about 50 minutes to process my images.
The gallery it gave me was massive, but organized well. I could filter by style (like “casual” or “formal”) which helped narrow things down. The built-in editor made things even better — changing a background or facial expression was as easy as clicking a few buttons. It reminded me of using a simplified photo editing app, just much faster.
Output Quality
The quality was solid overall. Not every image was perfect right away, a few had slightly odd facial features or lighting, but most were very usable. And the real win was being able to fix things easily.
For example:
- One image had a weird strand of hair, I used the edit tool and it cleaned it up
- Another looked a bit too serious, I added a small smile and it became one of my favorites
The resolution was high, probably just under 4K, and skin tones looked natural. I ended up with around 10 headshots I’d confidently use on LinkedIn or elsewhere after a few minor tweaks. Some of the more creative styles (like a turtleneck and modern backdrop) even gave me ideas for personal branding.
Pricing
Secta charges a flat rate of $49 for the full package. No tiers or add-ons, you pay once and get all the tools and results in one go.
- $49 gives you 180+ AI headshots
- Unlimited edits with their built-in tools
- No free plan, but everything’s included in the main price
It’s not the cheapest tool, but considering how many photos and how much control you get, it still feels worth it — especially if you plan to really use the editing tools. If you only want one or two images, though, the package might feel like overkill.
What I Liked Most
- Huge number of output images in under an hour
- Powerful yet simple editing tools built in
- Style filters and tags made it easier to browse
- One-time payment includes everything, no locked features
What Could Be Better
- Gathering 25 selfies took effort
- Too many results might overwhelm some users
- Price may feel high for those who only want a few good photos
Best For
Secta works best for people who want options, lots of them. If you're someone who needs a formal headshot, a casual one, and maybe a few more creative looks for different platforms, Secta has you covered. It’s perfect for perfectionists who want to tweak things until they’re just right. I’d also recommend it for creatives, entrepreneurs, and anyone building a personal brand. And if you're part of a team and want everyone to have matching-style headshots, Secta’s editing tools can help with that too.
5. DreamWave AI – Budget-Friendly Lifelike Headshots

My Experience Using DreamWave
DreamWave gave me one of the most affordable AI headshot results I’ve tried. I uploaded around 8 casual selfies taken in different lighting and angles, and about 2 hours later, I had a full gallery of professional-looking headshots. The process was hands-off and really simple. What impressed me most was how natural the images looked—most had the kind of polish you'd expect from a real photographer, not an AI tool. It didn’t go overboard with styling, which made everything look consistent and usable right out of the gate.
Key Features
DreamWave focuses on realism and simplicity. Here’s what stood out:
- Only 5 to 8 selfies needed to get started
- Delivers 70+ headshots with slight pose and style variations
- True-to-life rendering with accurate skin tone and facial details
- No editing tools — just upload, wait, and get your results
- Works well for teams needing consistent headshots
You don’t get much control over styling, but the default outputs already look clean and professional.
Ease of Use
Uploading was quick and painless. I picked a general style category (I went with “corporate”), and the rest was automatic. The interface was minimalist, and I didn’t need to make any manual adjustments.
- Upload time: just a few minutes
- Delivery time: about 1.5 to 2 hours
- Reviewing and downloading photos was simple and fast
There’s no customization once the process starts, but it’s ideal if you want something that just works with minimal effort.
Output Quality
For the price, the quality really surprised me. Most of the headshots looked sharp and natural.
- Lifelike results with realistic lighting and clear focus
- Facial features like eye color, skin tone, and freckles stayed accurate
- Some minor AI smoothing if you zoom in close, but nothing major
- A few poses were a bit repetitive, but that’s expected with batch generation
I found about 10–15 images I’d actually consider using on LinkedIn or a website. That’s a great return for how little I paid.
Pricing
DreamWave is one of the cheapest options on the market.
- Basic packages start around $19
- I paid under $10 during a promo for over 70 headshots
- Optional subscription for ongoing photo styles, but not needed for one-off use
- No free full-quality option, but the price is already low
Compared to a traditional shoot, this was a great deal. Even for a one-time profile update, it’s worth the small cost.
What I Liked Most
- Very realistic images for a low price
- Quick setup and easy to use
- Delivers a solid number of results
- Great entry point for trying AI headshots
What Could Be Better
- No editing tools or style customization
- Poses can feel a bit similar across the batch
- Output takes longer than some faster tools
- A few small visual quirks if you look really closely
Best For
DreamWave is a smart choice if you’re on a budget and want realistic headshots fast. It’s ideal for job seekers, students, or anyone updating a LinkedIn photo without spending hundreds. It’s also a good pick for small teams or remote workers who need consistent, no-fuss portraits. If you're not looking for deep customization and just want clean, believable photos, this tool does the job well.
6. AI SuitUp
My Experience Using AI SuitUp
AI SuitUp felt more detailed than some other tools, but it still delivered a smooth, polished experience. I uploaded 10 photos — they suggest anywhere from 8 to 12 — and spent a few minutes picking things like attire formality, background style, and lighting. Once I hit generate, it took about an hour before I got an email saying the images were ready. I ended up with over 100 headshots, most of which looked like they came from a real studio session. The results were clean, consistent, and professional.
Key Features
- Generates 100+ high-resolution, lifelike headshots in about 60 minutes
- Uses the Flux AI model for better realism and fewer glitches
- Offers deep customization: backgrounds, lighting styles, clothing formality, and more
- Great for individuals or full teams — ensures consistency in style, lighting, and framing
- Lets you “set the scene” with backdrop options like gradient, office, outdoor, or library
Before you even generate, you get the chance to define how your final photos should look — think of it like prepping for a studio shoot, but all online. For businesses, it’s scalable too. You can process headshots for entire departments while keeping a consistent look across all staff.
Ease of Use
It’s not a pure one-click tool, but it’s still very beginner-friendly. After uploading my photos, I was walked through a short setup: things like choosing “business formal” clothing, a clean studio-style background, and “standard” lighting. The interface was easy to follow, dropdown menus and checkboxes, and it didn’t feel technical. Once that was done, I didn’t need to do anything else. About an hour later, the results were ready, and I browsed through everything on a clean dashboard. Images were grouped by look, which helped when sorting through the large batch.
Output Quality
This is where AI SuitUp really impressed me. The headshots looked sharp, realistic, and very professional. I could tell it paid attention to detail, my suit had visible texture, and my hair didn’t look blurred or overly smoothed out. Most of the shots felt like they had just the right amount of polish, without looking artificial. There were different expressions too, from serious to slight smiles, all very usable for LinkedIn, company bios, or ID cards.
Out of 100+ headshots, I saved around 75 that I liked, with about 10 to 15 standing out as top picks. Maybe a couple had slightly odd background blur or lighting, but nothing major. It also kept my face consistent, which is helpful if you want a matching set of headshots for different platforms.
Pricing
I went with a plan that cost about $30 and delivered more than 100 images. That package was a solid value, especially considering a traditional photo session could cost several times more. Their base plan starts at $27 for 50 headshots, and there are higher tiers for larger batches. I didn’t see a full free version, but there may be previews or money-back options depending on where you sign up. For what I got, it felt very fairly priced, especially if you're planning to use these across job sites, websites, or speaker profiles.
What I Liked Most
- High-res, natural-looking headshots that felt studio-grade
- Style setup gave me control over backgrounds and outfits
- Very consistent results, good for team photos or personal branding
- Large batch size gives you lots of variety to pick from
What Could Be Better
- The style setup process might feel like too many steps for some
- If you're unsure of what background or outfit you want, the choices may be a bit much
- No full free plan, and sorting through 100+ images takes time
Best For
AI SuitUp is ideal if you want high-quality, professional headshots with a clean and consistent style — fast. It’s a strong choice for LinkedIn profiles, executive bios, company websites, or even internal staff directories. It’s especially useful for remote teams who need cohesive team photos without hiring a photographer. If you’re someone who wants a polished look and doesn’t mind taking a few extra minutes to set your preferences, AI SuitUp gives you great results that feel like they came out of a studio.
7. Try It On AI – Fun Styles & Creative Customization
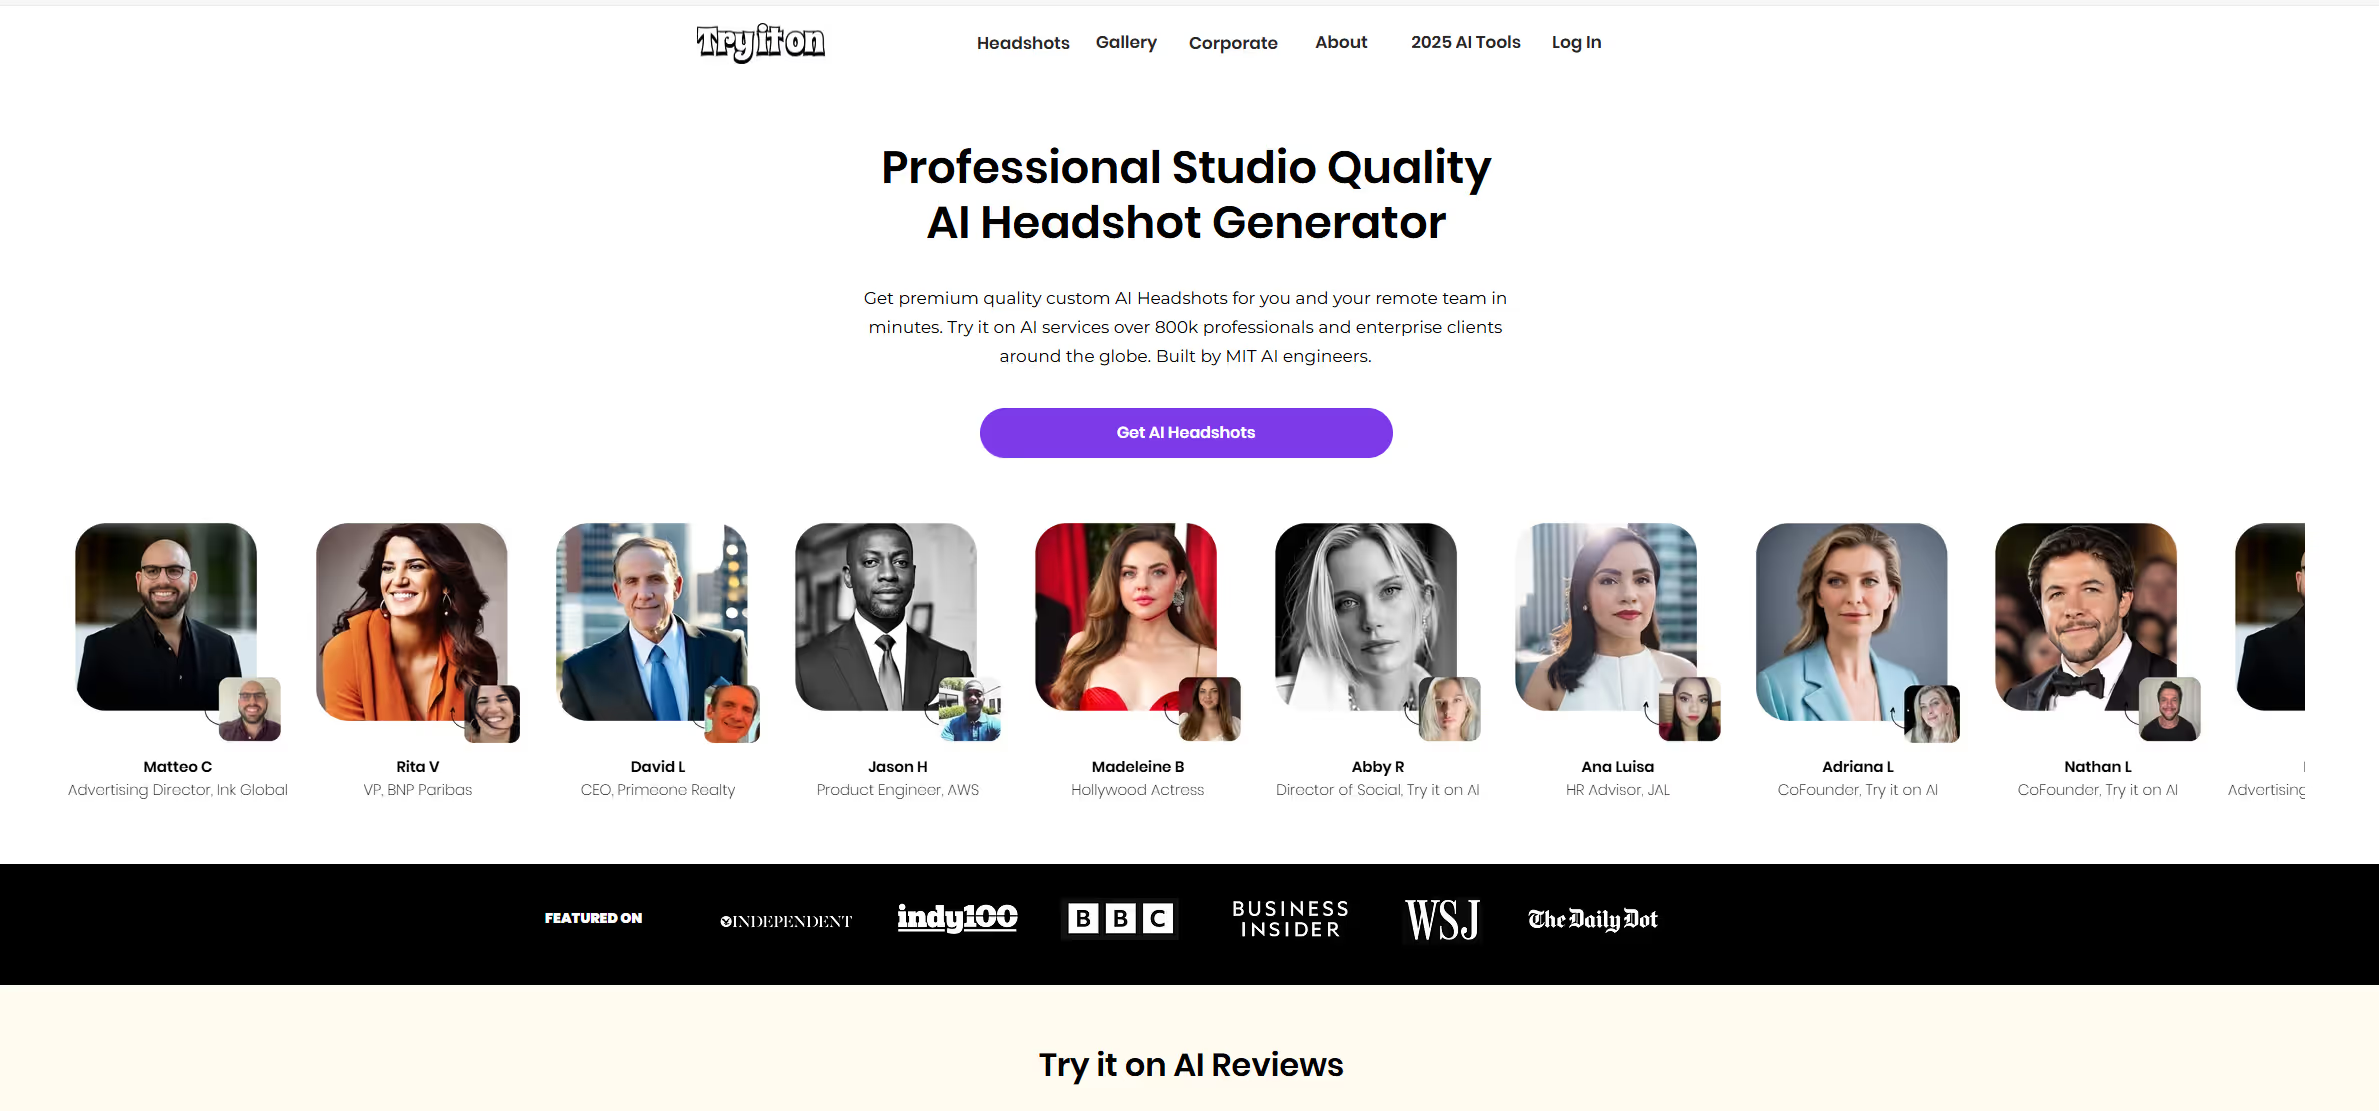
My Experience Using Try It On AI
Try It On AI felt playful and easy from the start. I uploaded about 10 selfies and answered a few simple questions like my gender and what kind of styles I wanted — stuff like “LinkedIn”, “outdoor casual”, or “studio white background”. Then I clicked generate and waited. In about 30 to 40 minutes, I got a link to preview my photos and a ZIP file with over 100 headshots. The whole thing was low effort but gave me tons of variety. I ended up with a big mix of looks, including professional, casual, and a few more creative shots that wouldn’t be out of place on a personal blog or Instagram.
Key Features
- Generates 100+ headshots in one batch
- Offers preset styles like business formal, casual, or outdoors
- Fast results, usually under 45 minutes
- Lets you re-roll if you don’t like the first batch
- Includes themed or seasonal packs (great for personal use too)
- Often offers free trials with a few sample photos
What stood out was how easy it was to get different backgrounds and outfits without needing to adjust anything manually. You just pick a few style tags and let it run. I even got one version of myself in a hoodie with a blurred park background and another in a suit with an office backdrop, all from the same selfie batch.
Ease of Use
Super simple. Upload your photos, tick a few style boxes, and that’s it. There’s no deep customization like setting exact lighting or posing preferences, which actually makes it a quick process. My results came back pretty fast, under an hour, and the photos were sorted by category when I viewed them online. The ZIP file had everything organized too. It felt like using a basic photo filter app, just with AI doing all the styling. No editing tools inside the platform, but honestly, it’s more about giving you a bunch of options and letting you choose the best.
Output Quality
The quality was decent, not flawless, but definitely usable. I’d say the best shots were solid: sharp, well-lit, and true to my features. A few had minor quirks, like one where my eyes weren’t perfectly symmetrical or a smile that looked slightly “painted” on, but they were easy to skip. Because you get over 100 headshots, you can just filter out the duds. I had about 10 that were excellent and ready for LinkedIn or my portfolio, and probably another 20 that were good but maybe not my top expression.
It delivered a nice range: different outfits, backgrounds, and expressions. Most of them looked like they came from the same session, which helped with consistency. Some were more fun, like me in a casual jacket against a soft outdoor blur, and some looked ready for a business card.
Pricing
Try It On cost me around $19 for a full set. That included more than 100 headshots in different styles, which is pretty generous for that price point. No subscription — just a one-time payment per batch. There are sometimes discount codes floating around online, and I remember they used to offer a free preview version too (just 2-4 low-res images to see if your selfies worked well). For under $20, it felt like good value — especially when compared to a studio shoot.
What I Liked Most
- Tons of variety with one click
- Fast turnaround — less than an hour
- Super easy setup, no editing skills needed
- Great price for the amount of output
What Could Be Better
- Not all images are perfect — some had minor AI artifacts
- You’ll need to sort through a big batch to find the best ones
- Less control over specific lighting or outfit details
- A few images didn’t quite look like me, but most were on point
Best For
Try It On AI is a good choice if you want a bunch of professional-ish headshots fast, without much work. It’s ideal for people who like to experiment with different looks or need photos for different contexts, maybe one for LinkedIn, another for a blog, and something more relaxed for a dating profile. The range it gives makes it easy to test out different vibes. It’s also great for students or anyone on a budget who still wants something presentable. If you’re okay picking the best from a big batch rather than getting one perfect image, this tool gives you more than enough to work with.
8. PortraitPal – User-Friendly with Photorealistic Results

My Experience Using PortraitPal
I didn’t expect much when I first tested PortraitPal — the name wasn’t familiar to me, and it didn’t have the same buzz as the bigger players. But it ended up surprising me in the best way. I uploaded six photos (a mix of casual shots, some with different angles), and that was all it needed. The whole interface was clean and didn’t require much thinking. Once I hit generate, it took about 90 minutes before I got the results.
When I opened the gallery, the first thing I noticed was how “real” the images looked. Nothing felt overly edited or stiff. My face looked like my actual face — just cleaner, better lit, and more confident-looking. The AI didn’t go overboard with smoothing or enhancements. The end result felt like I’d walked into a quiet photo studio, had a calm session with a skilled photographer, and walked out with 20 polished shots.
Key Features
- Needs only 5–6 photos to start
- Generates natural-looking headshots with accurate facial details
- Outputs high-res images (around 800x1024 or better)
- Offers realistic background and outfit options
- Small customization tweaks available post-generation
- Free previews and a beginner-friendly dashboard
The real highlight here is the balance between realism and polish. PortraitPal uses a refined AI model based on stable diffusion, which helps it avoid the odd distortions some other tools occasionally produce. The photos looked sharp, with natural light, clean backdrops, and an expression that still felt like me.
Ease of Use
This was one of the most straightforward tools I tried. No complicated setup, just upload your photos, pick a general direction (formal, casual, etc.), and let it run. You don’t need to choose exact backgrounds or lighting ahead of time unless you want to. The platform walks you through things clearly (like suggesting not to wear hats or sunglasses, and including a few side angles). I appreciated how little effort it took. And once the images were done, downloading them was quick and neatly organized.
Output Quality
PortraitPal’s results really stood out. The photos didn’t just look good, they looked like professional portraits of me on a good day. Details like skin tone, hair texture, and clothing folds came through clearly. Even expressions felt natural. There was no plastic or overly edited feel. One photo in particular looked exactly like something I’d expect from a studio session for a business website or keynote bio. A few images had minor quirks, like slightly soft shirt collars or artificial blur in the background, but nothing deal-breaking. Overall, the success rate was high, most of the batch was solid and a few were excellent.
Pricing
There’s a free preview tier, though it’s limited. I paid $35 for the main package and got 20 high-res headshots. Compared to hiring a photographer, that price felt more than fair. At less than $2 per usable image, it’s a solid value, especially if you only need one or two polished shots. They also offer upgrade bundles and seasonal updates if you want new styles later, but the base pack was more than enough for my needs.
What I Liked Most
- Very realistic results with minimal input
- Friendly for beginners — no design or photo experience needed
- Doesn’t require a huge batch of source images
- Authentic feel — people actually believed I’d gone to a studio
- No weird artifacts or overly glossy skin smoothing
What Could Be Better
- Less variety than some platforms — more focused on clean, professional looks
- Not ideal for creative or fantasy-style shots
- Limited post-generation editing compared to some tools
- Max resolution is good for web and print, but not ultra-HD
Best For
PortraitPal is a solid choice for professionals, job seekers, students, or anyone who wants to upgrade their online profile without the stress of a photoshoot. It’s especially useful if you want a headshot that looks like you — just more confident, approachable, and well-lit. If you’re tight on time or just want to avoid setup hassle, this tool works well. It’s also good for people who don’t love being photographed — PortraitPal kind of fixes the awkwardness without changing your face. Whether you’re updating your LinkedIn, launching a personal brand site, or joining a virtual conference with speaker bios, the images this tool creates are up to the task.
Sources: The insights and data points above were drawn from my personal testing supplemented by various reviews, tutorials, and case studies. I referenced materials such as the UsefulAI tools roundup, tech blogs like Beebom and Geekflare, first-hand accounts from Entrepreneur, Samantha Brandon’s detailed 2025 test, Cybernews comparisons, and even a HubSpot experiment on AI headshots. I also drew on YouTube reviews (e.g., a PortraitPal review and an Aragon AI demo) and a branding case study highlighting AI SuitUp’s impact. Each tool’s section above cites specific lines from these sources to back up features, pricing, and performance claims. These external resources validate my experiences – for instance, confirming Aragon’s attention to detail, PortraitPal’s true-to-life quality, BetterPic’s resolution and styles, Secta’s editing capabilities, DreamWave’s lifelike results, AI SuitUp’s efficiency, and Try It On’s creative flexibility, among others. By blending personal testing with expert reviews and real-world usage examples, I aimed to provide a well-rounded, trustworthy guide to the best AI headshot generators out there.


.svg)